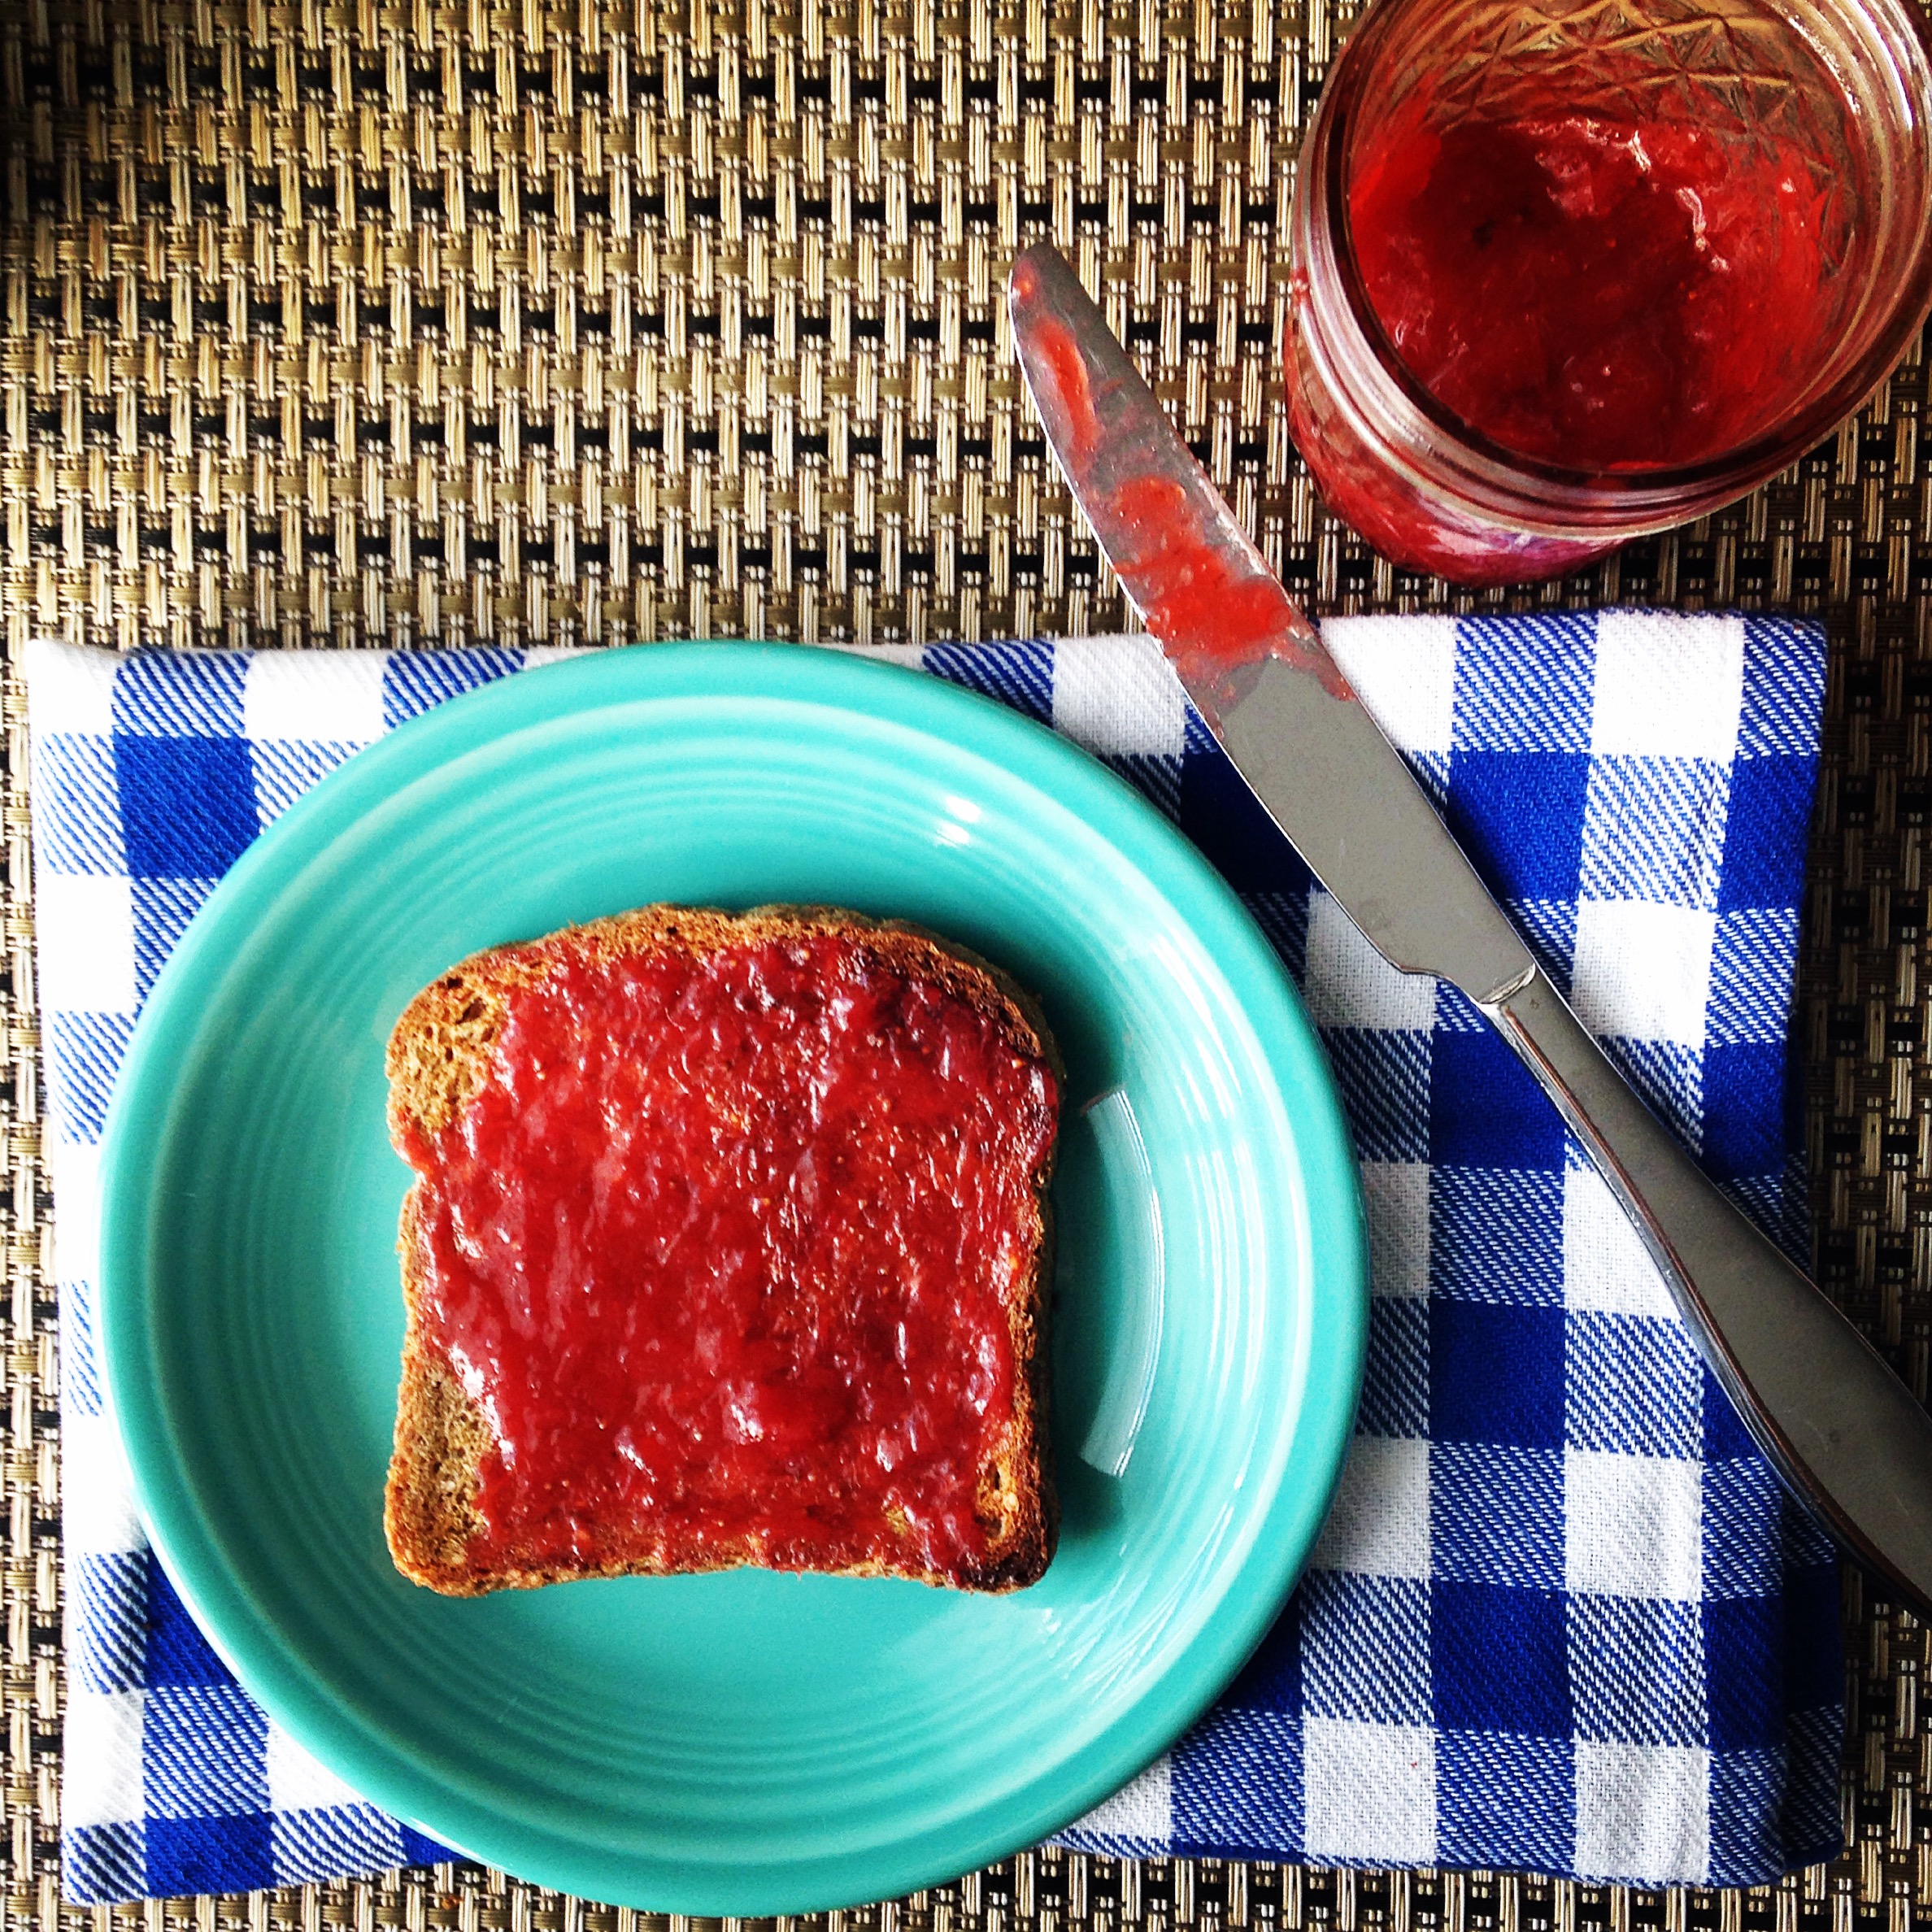
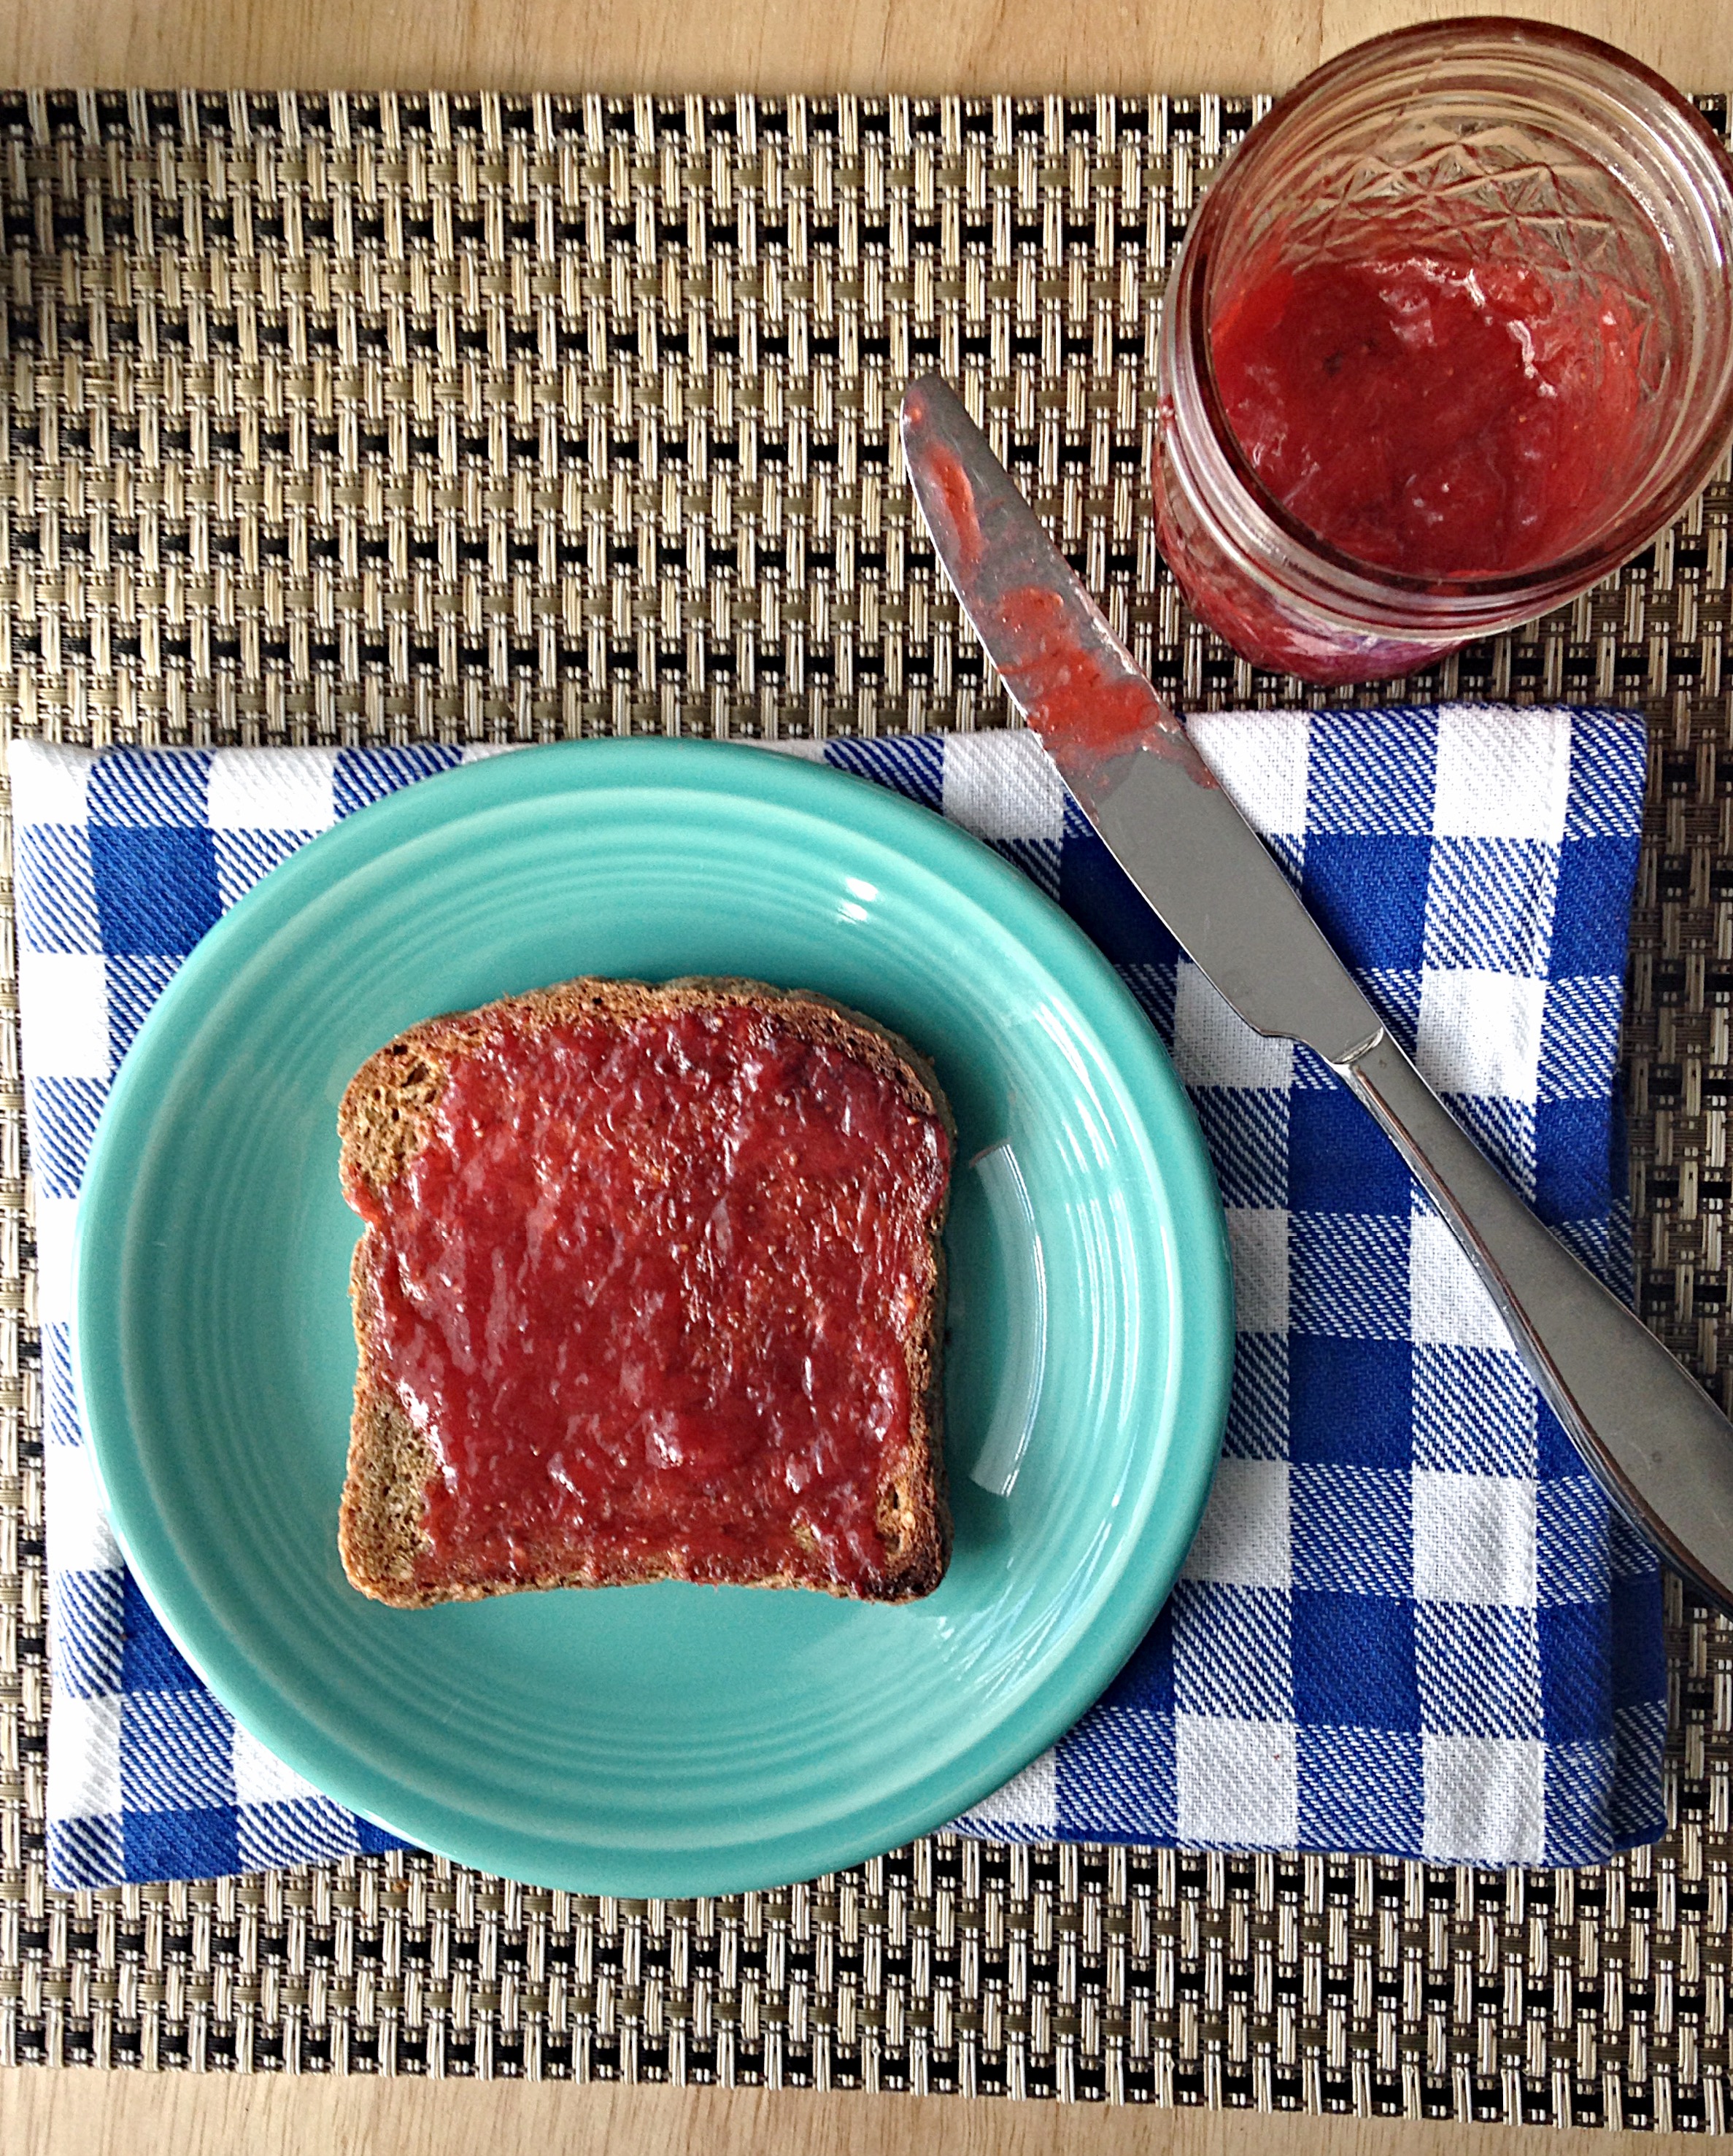
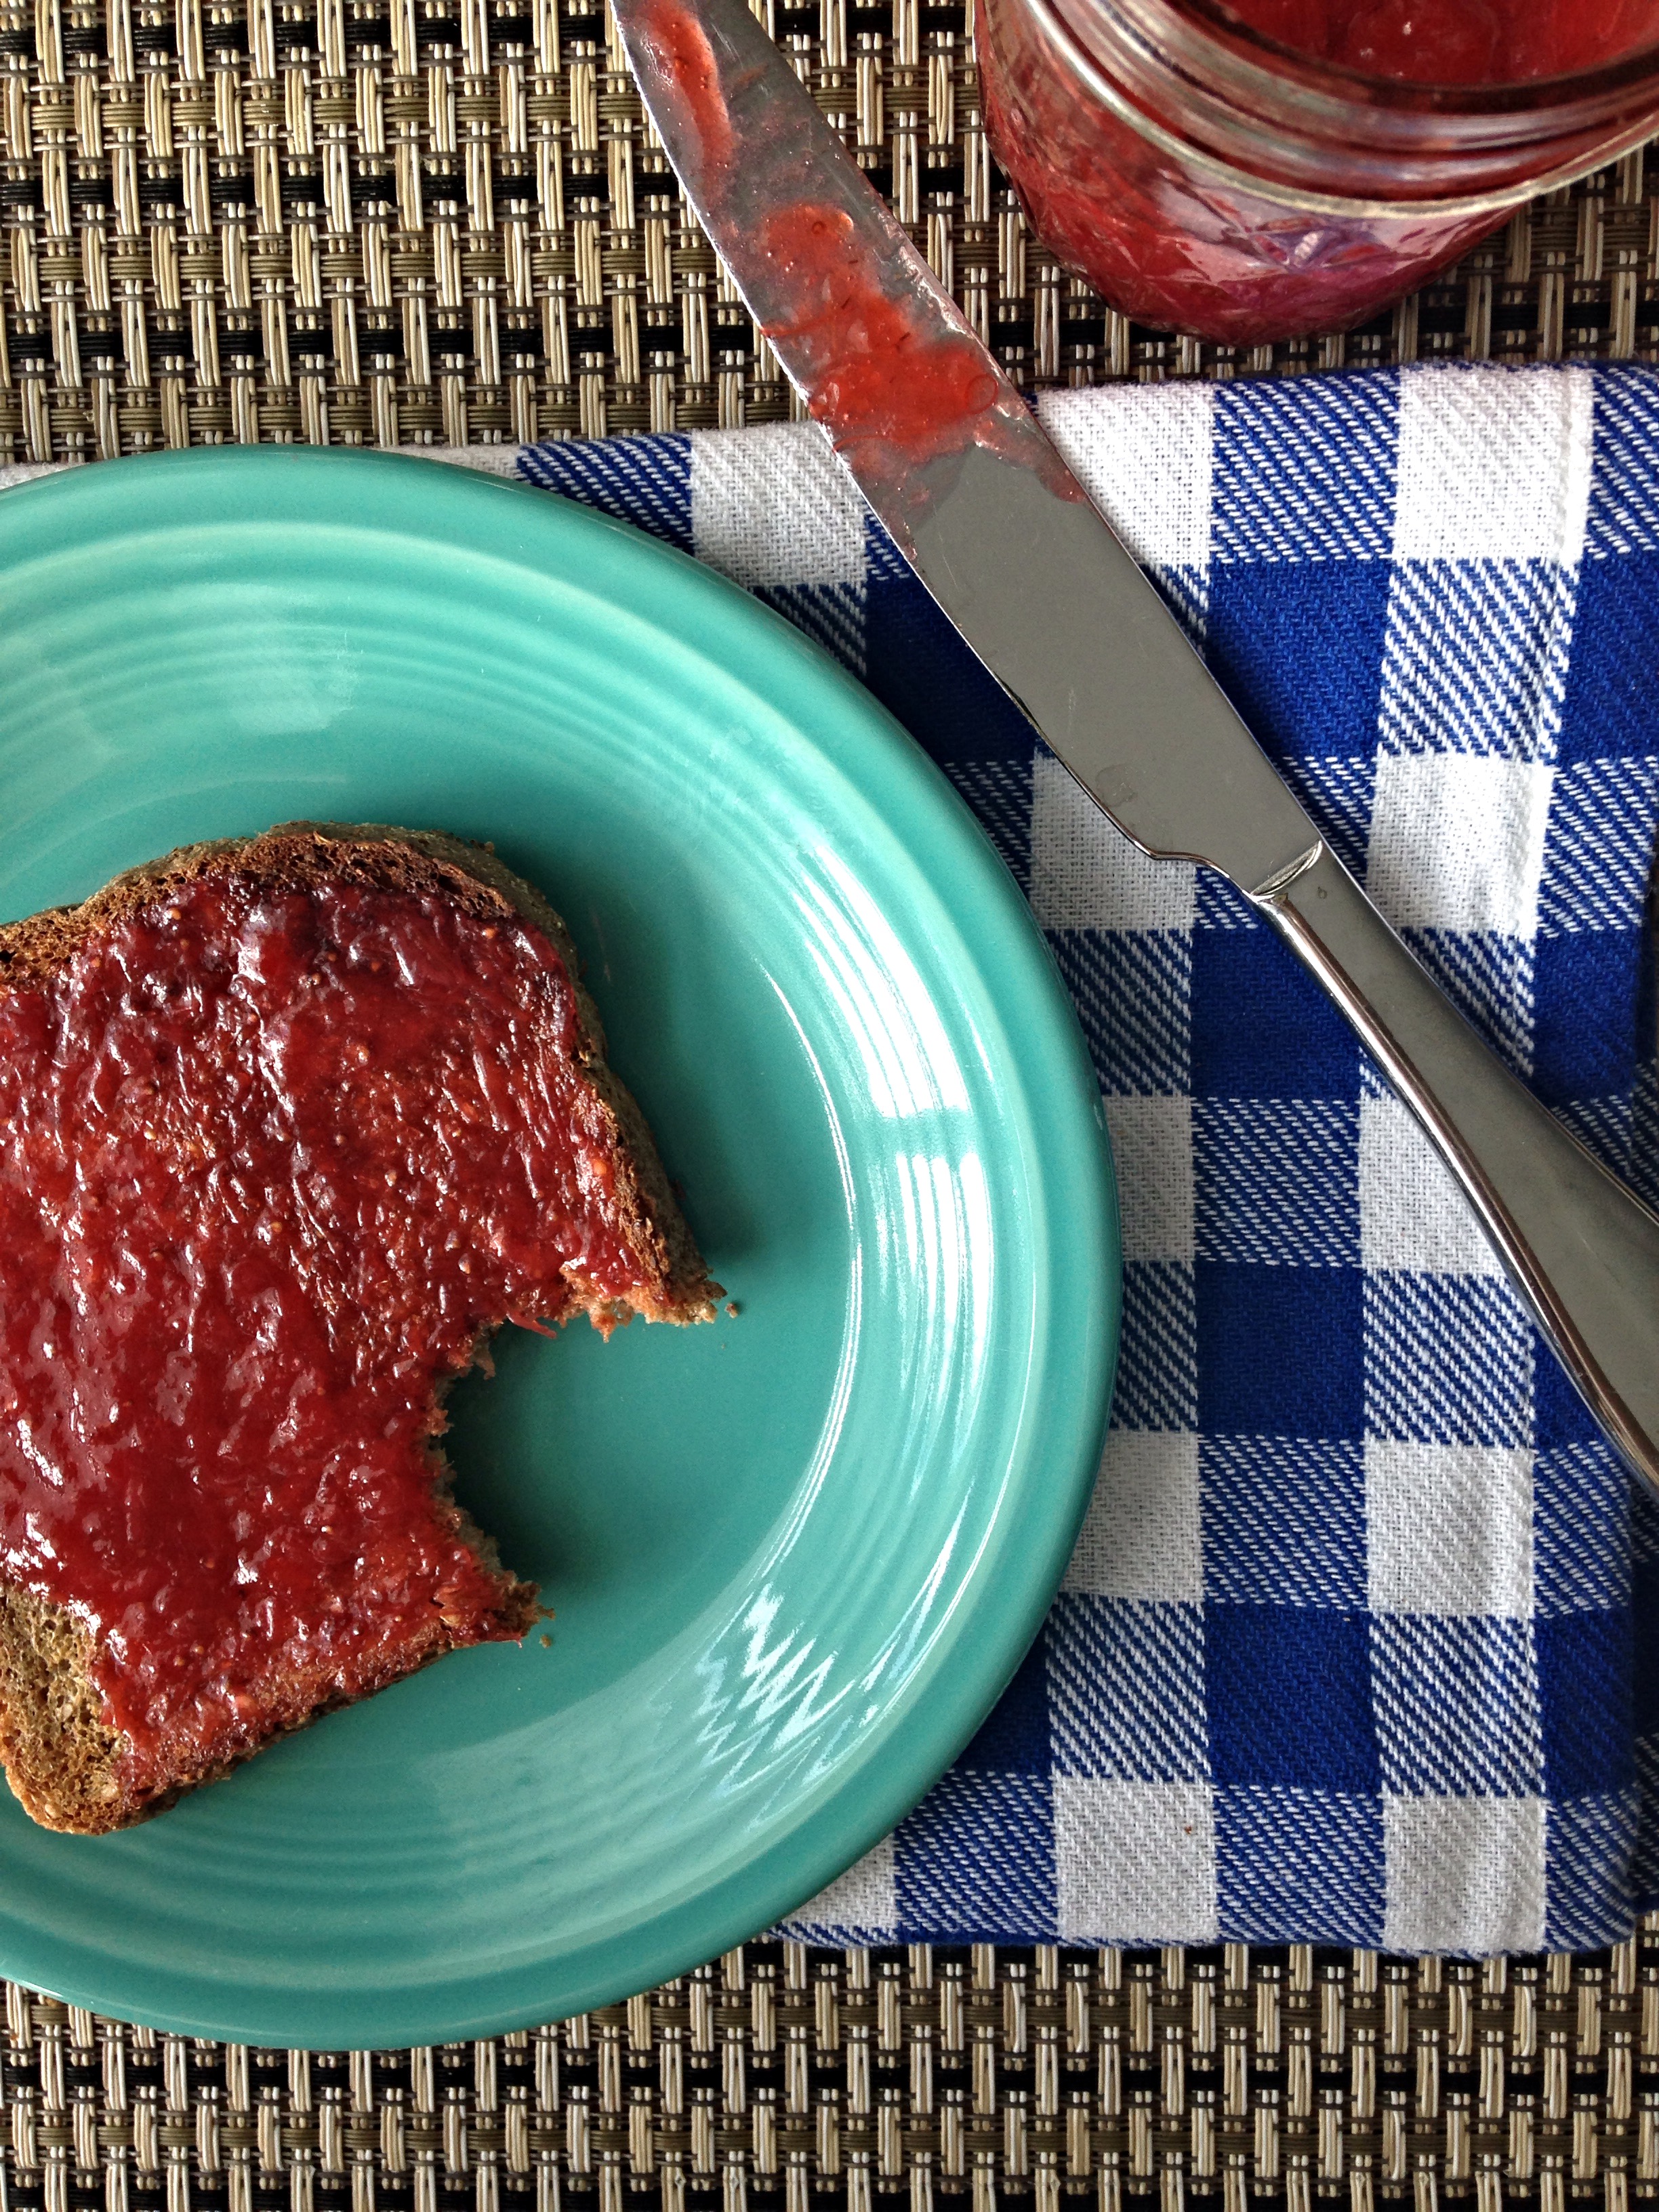
My strawberry rhubarb ‘kick’ doesn’t stop at scones… there’s jam, too! I’d never made jam prior to this but I have to say, I’ll absolutely be making it again. It’s so rewarding to watch it come together, jar it, then give it as gifts (or gobble all of it up yourself). On toast, pancakes, waffles, or even with a spoon, this jam is absolutely delicious!
I was hesitant when I came across a strawberry rhubarb jam recipe, because I had never made jam before & jarring sounded like it would be quite confusing. I was absolutely right, jarring is confusing. With the different pots & tools, the process is messy. Plus, there are a ton of opportunities to burn yourself with boiling water. After messing up the entire process during my first attempt, I found a better way.
I searched for a video on how to make jam and came across one from The Chopping Block. Her jarring technique made way more sense to me. It was cleaner, safer & easier compared to boiling jars in hot water… twice. Here’s how she did it:
- Wash the jars with soap & water.
- Place the jars on a baking sheet and into a preheated, 200 degree oven for 20-30 minutes.
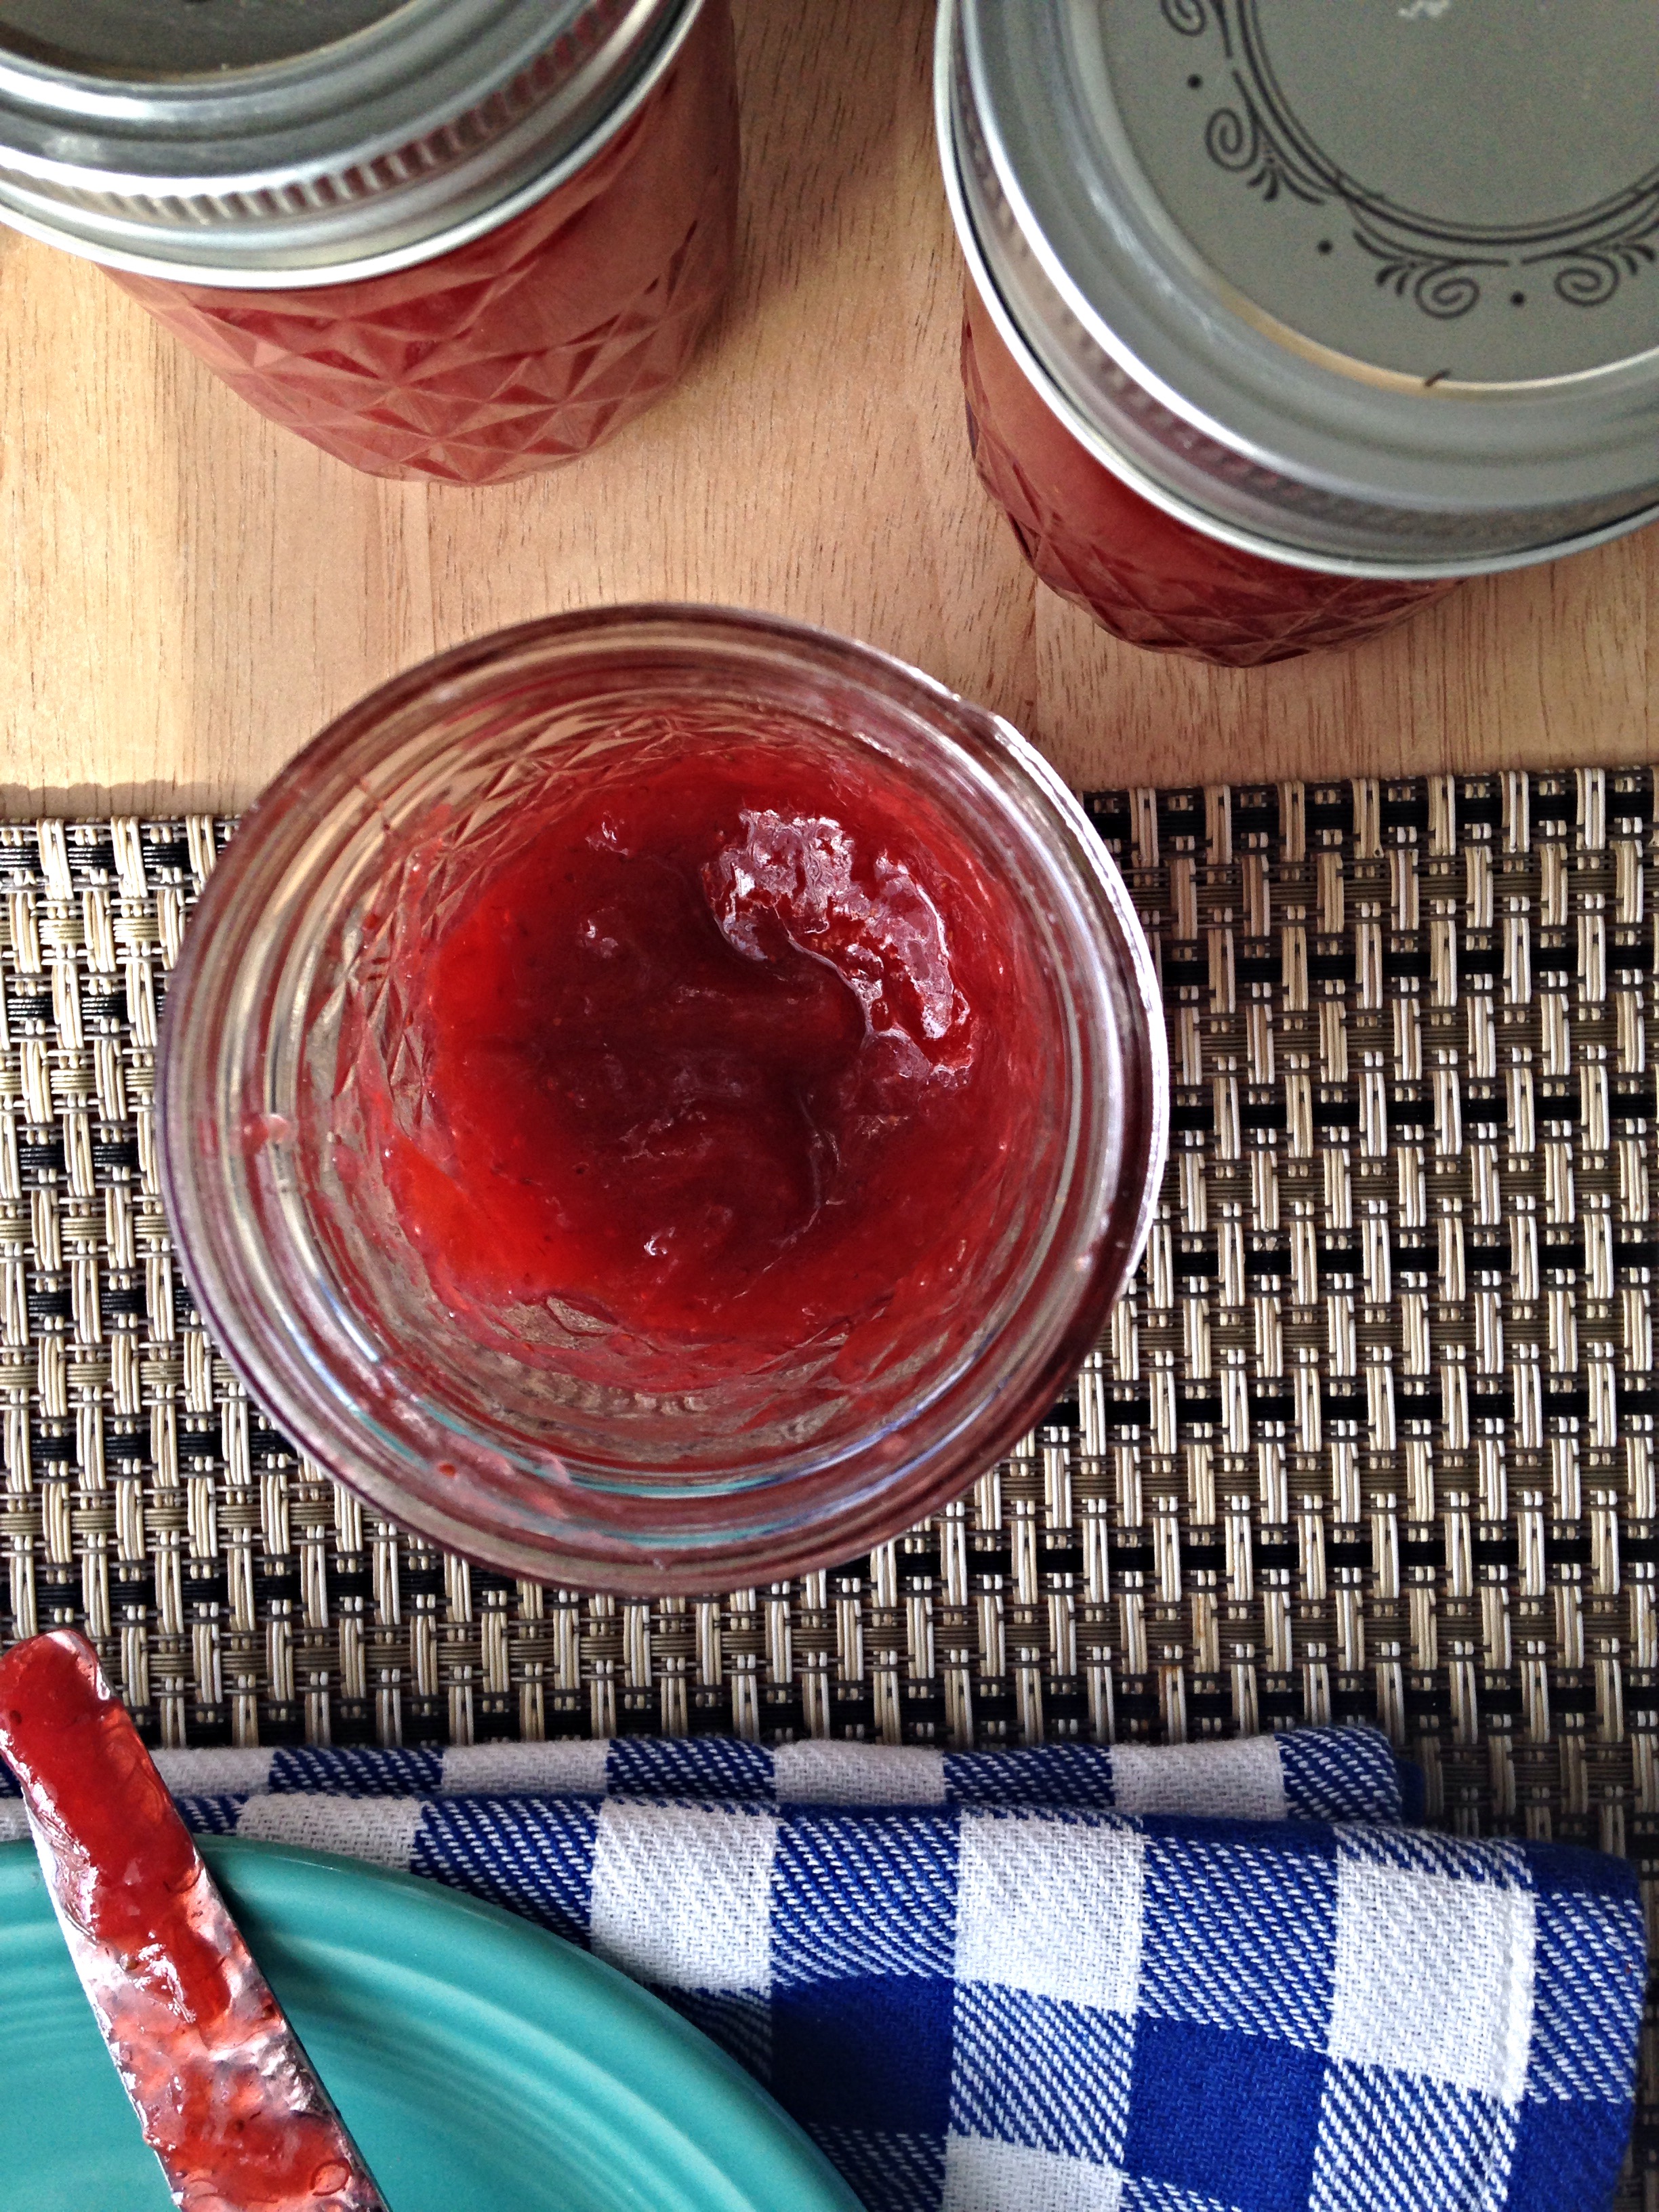
- Fill the sterilized jars with your favorite homemade jam recipe. Close the jars as tightly as possible.
- Let the filled jars sit at room temperature until you hear them seal – you’ll hear a ‘pop’ noise. You should be able to push down on the center of the lid without it springing back.
See what I mean? This is MUCH easier than the traditional way of jarring & it works just as well.
The Tips
- Use the jarring process above!
- Use whichever fruit you’d like. This recipe will work with other fruit combinations, aside from strawberry rhubarb. You can leave the rhubarb out & just do strawberry, replace both fruits with blueberries, etc.
- Wear long sleeves & an apron. You’ll be stirring the jam constantly as it cooks over medium-high heat; that’s a recipe for boiling hot fruit spitting back at you & potentially burning your arms or staining your shirt. Practice safety first with long sleeves and an apron!

The Recipe
- 4 cups diced strawberries
- 4 cups diced rhubarb
- 1 1/2 cups granulated sugar
- 2 tablespoons lemon juice
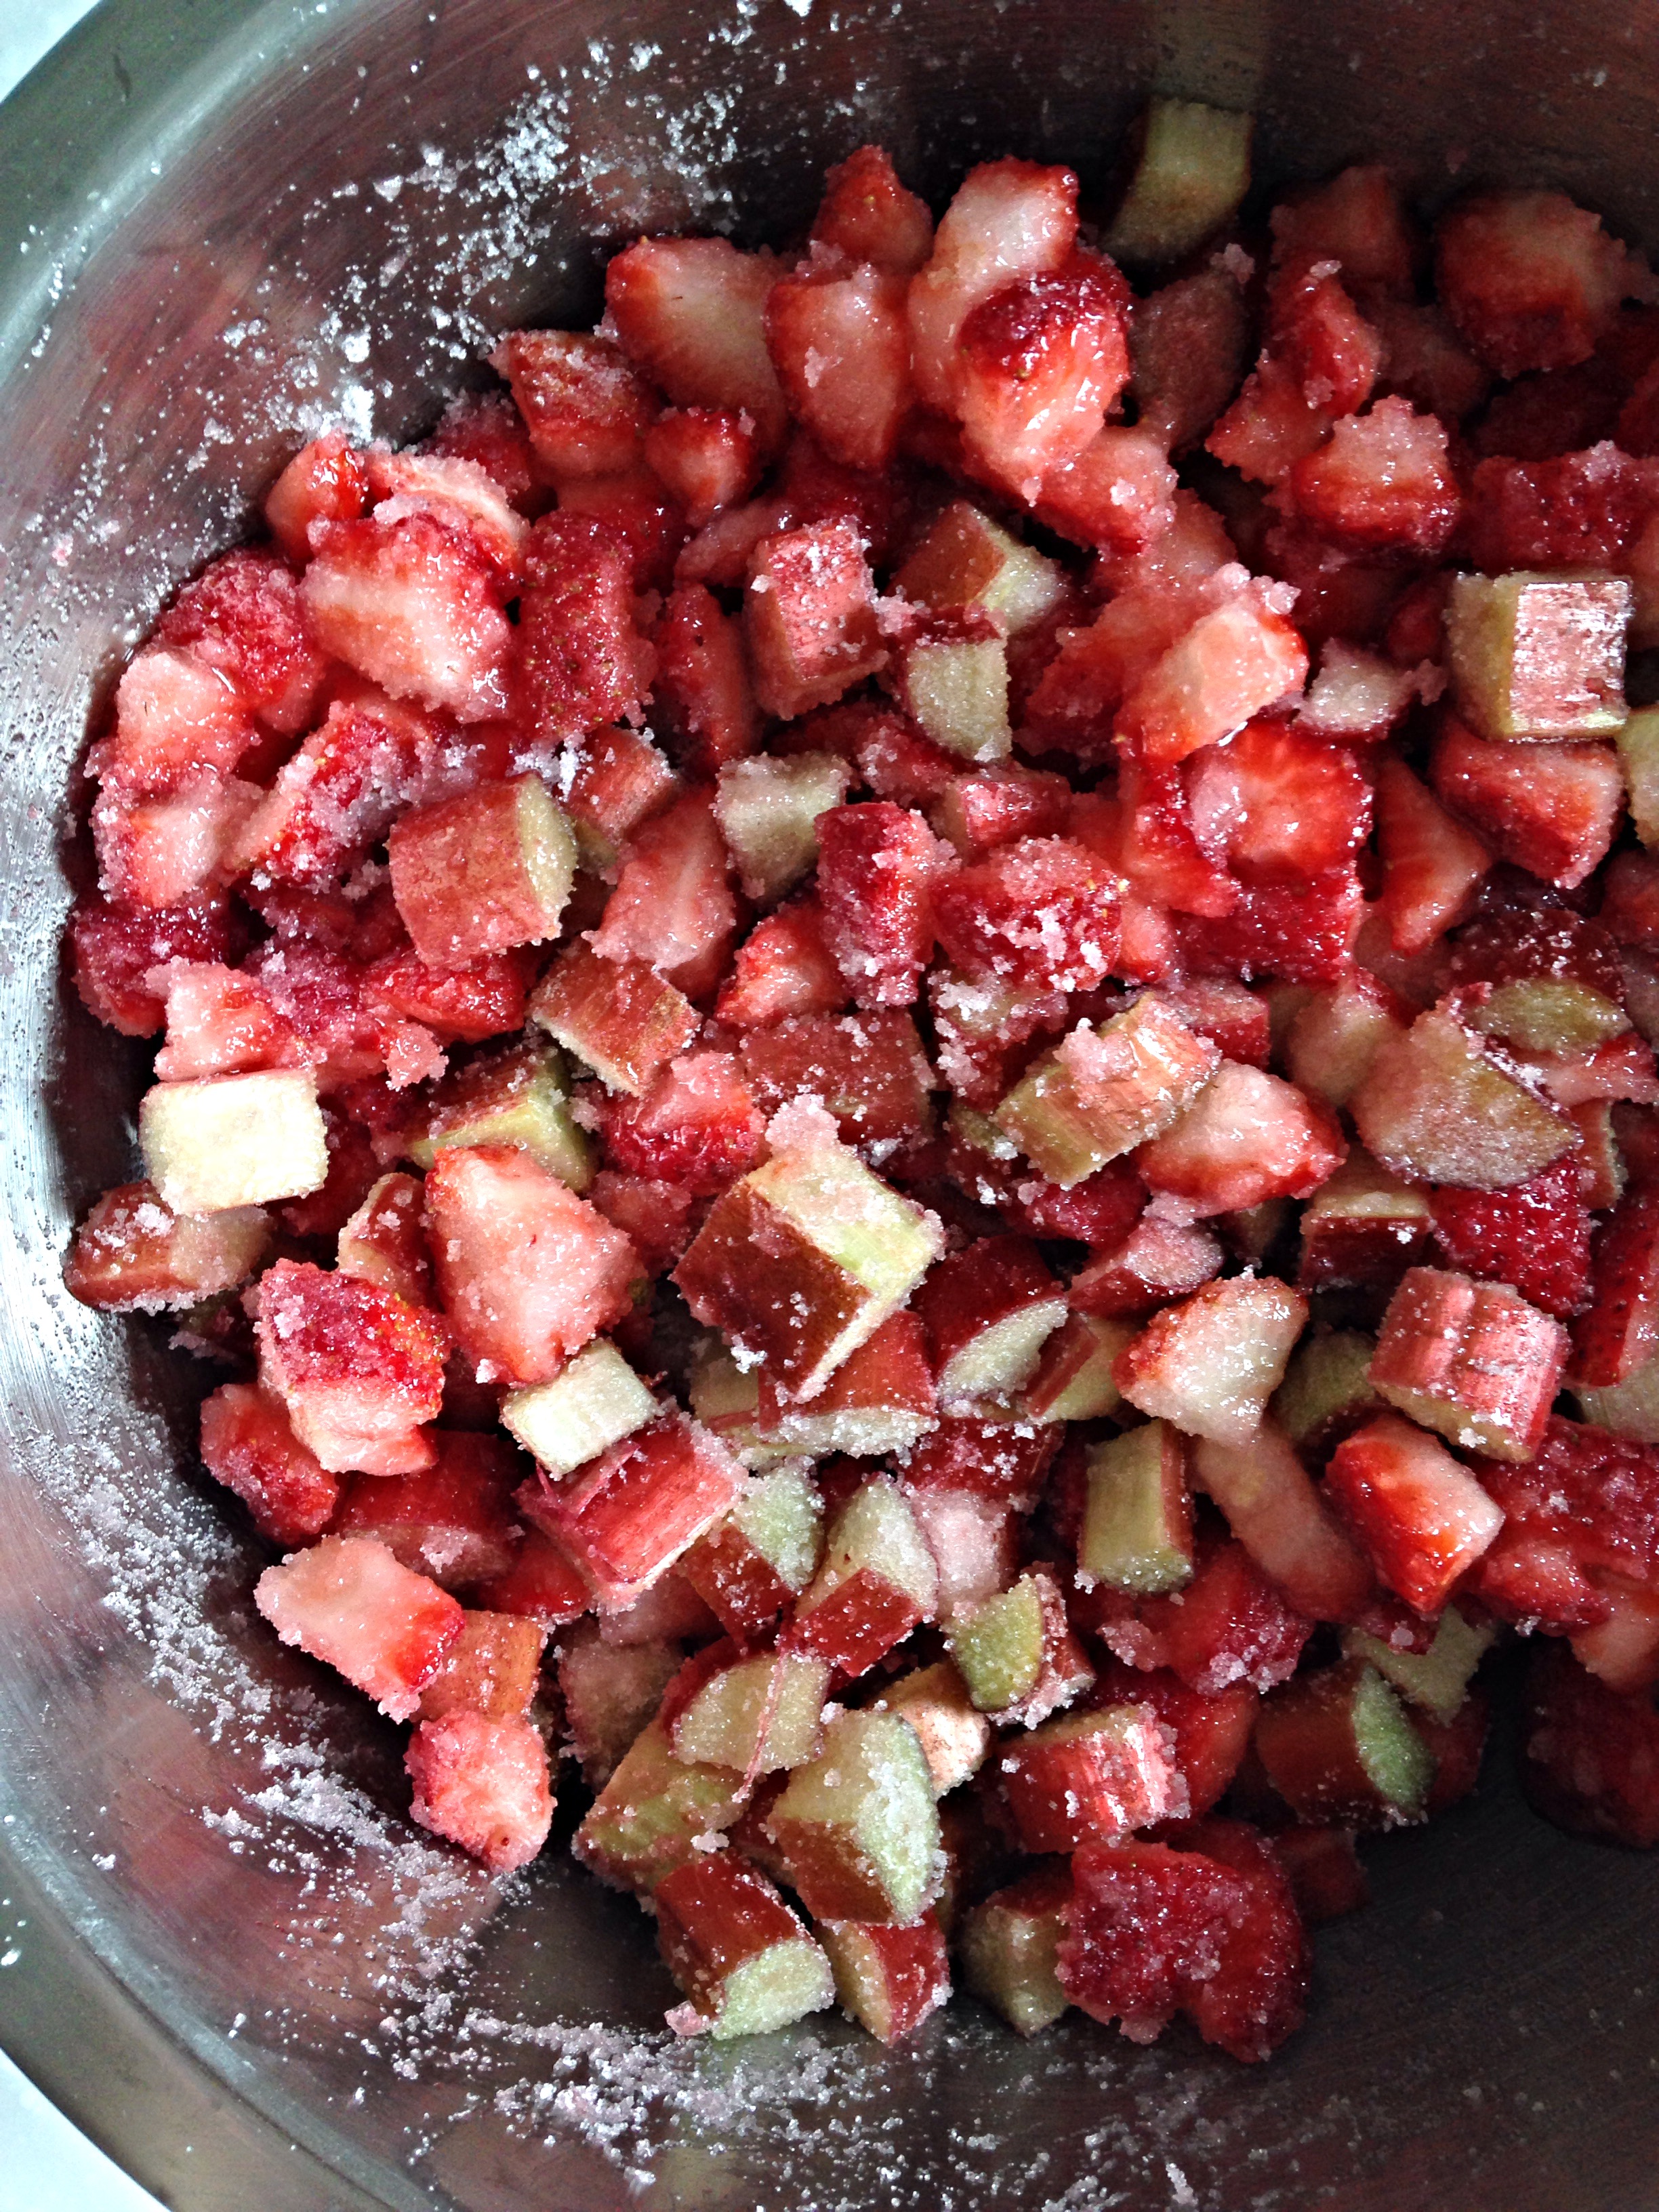
- In a large bowl, toss the rinsed, diced strawberries & rhubarb in the granulated sugar. Cover with plastic wrap and let it sit overnight in the refrigerator.
- Once you're ready to cook the jam, preheat the oven to 200 degrees. Clean 4 jam jars with soap and water. Once the oven is heated, place the cleaned jars onto a baking sheet and into the oven for 20-30 minutes. Remove & set aside.
- Add the sweetened fruit and all of the liquid to a large pot over medium-high heat. Bring the fruit to a rapid boil and stir constantly, using a wooden spoon. Be extremely careful not to let the jam burn at the bottom - this can happen quickly without constant stirring. As the jam begins to thicken, add the lemon juice.
- Cook the jam at a rapid boil for 20-25 minutes. When cooked, the jam will be thick & you'll be able to leave a 'trail', after dragging the spoon through it.
- Remove the jam from the heat and use a small ladle to pour it into the prepared jars. Wipe the rims, tightly apply the rims and let the jam sit at room temperature until you hear them seal. The jars are sealed properly once you hear a 'pop' noise & you're able to press on the center of the lid without it springing back.
- Jars that do not seal properly should be refrigerated and eaten within a week.