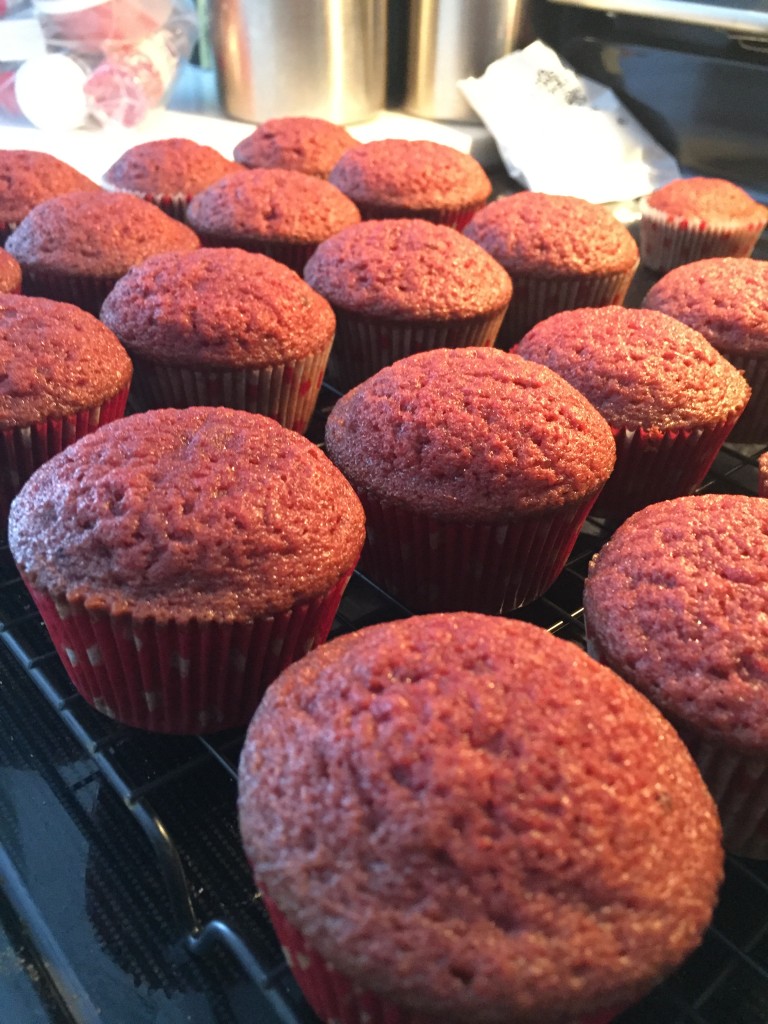
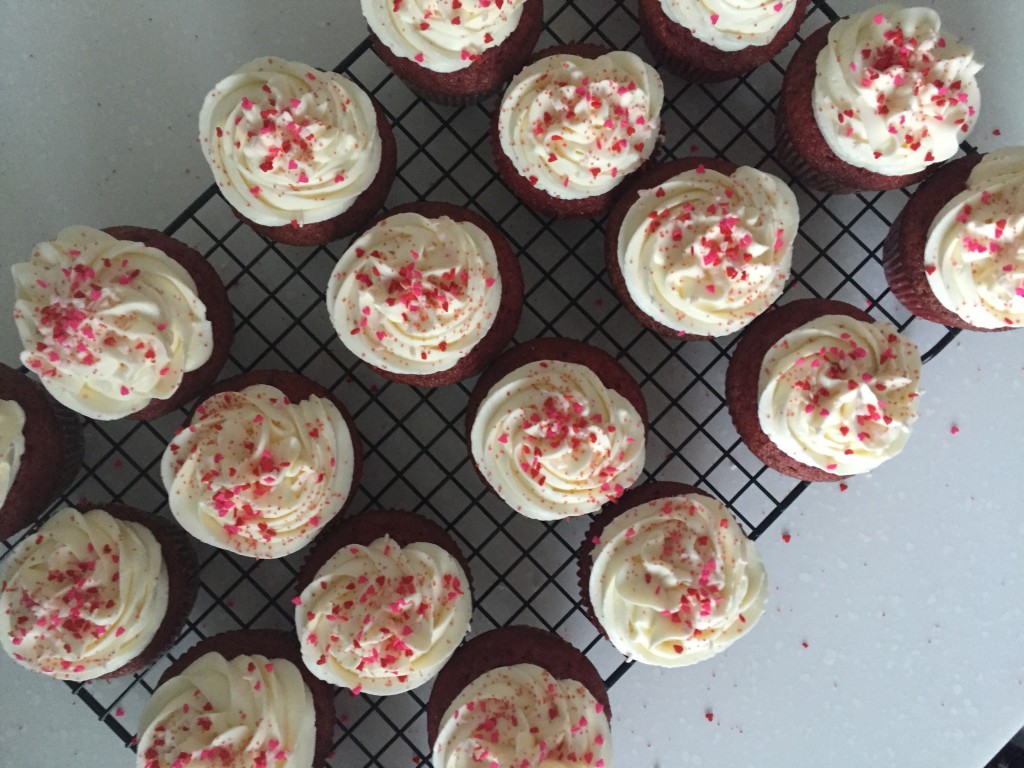
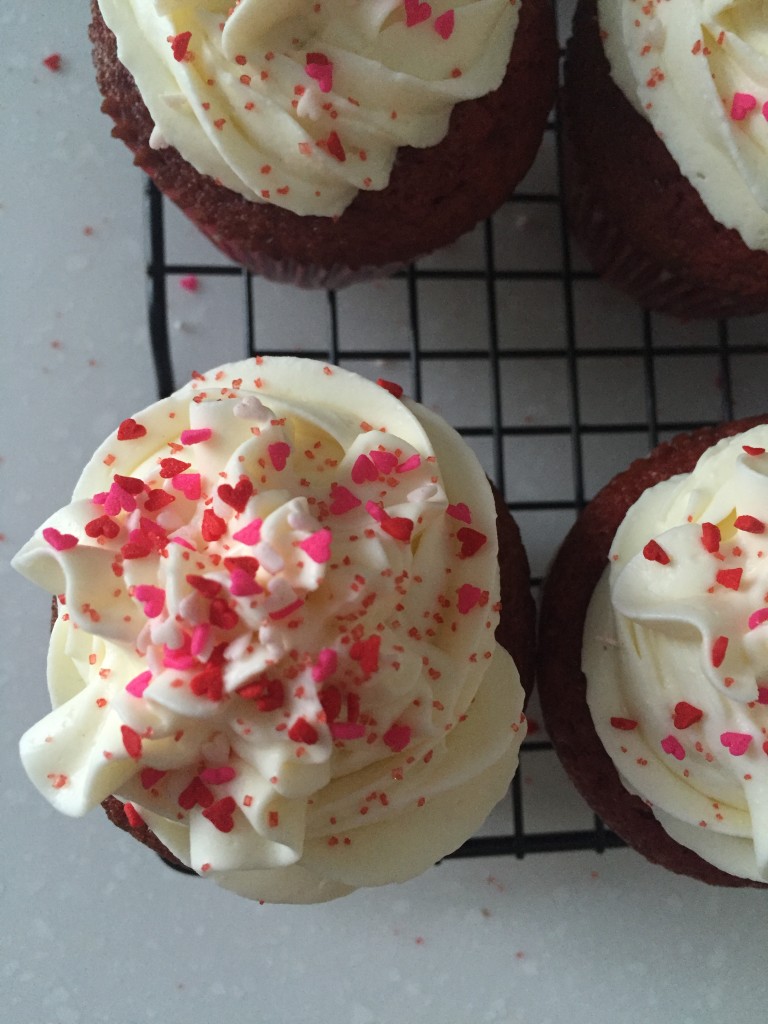
As Valentine’s Day approaches and recipes for red velvet everything begin to flood the internet, I figured I’d contribute. Red velvet happens to be one of my favorite flavors so the fact that I haven’t shared this cupcake recipe is a bit silly. This recipe is classic and although you may stain all of your fingers red with food coloring, the result will be delicious and absolutely worth it.
The Tips
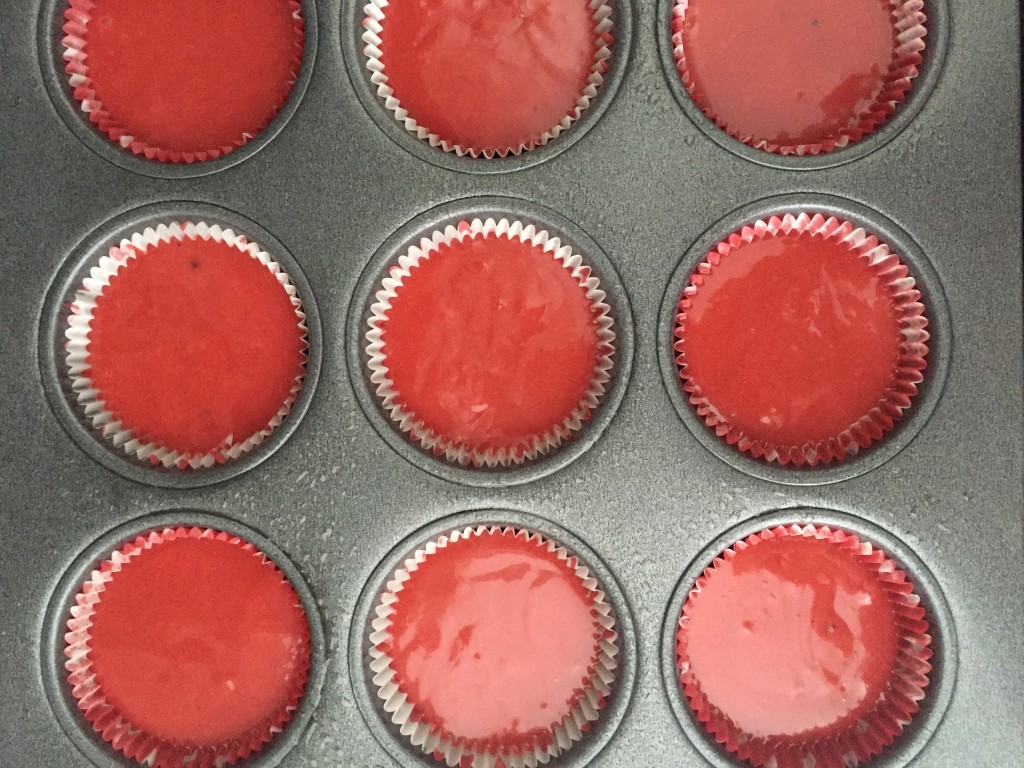
- Use an automatic scoop. If you’ve read most recipes on my blog, you know that I love automatic scoops. It’s probably due to my self-diagnosed OCD but why not have all of your baked goods be the same size if possible? I typically use a smaller-sized scoop for cookies but they sell larger ones for ice cream, muffins, cupcakes, etc. I got mine at Sur la Table. One scant large (3.25 oz) scoop should fill your cupcake liners 3/4 of the way and give you perfectly uniform cupcakes, every time.
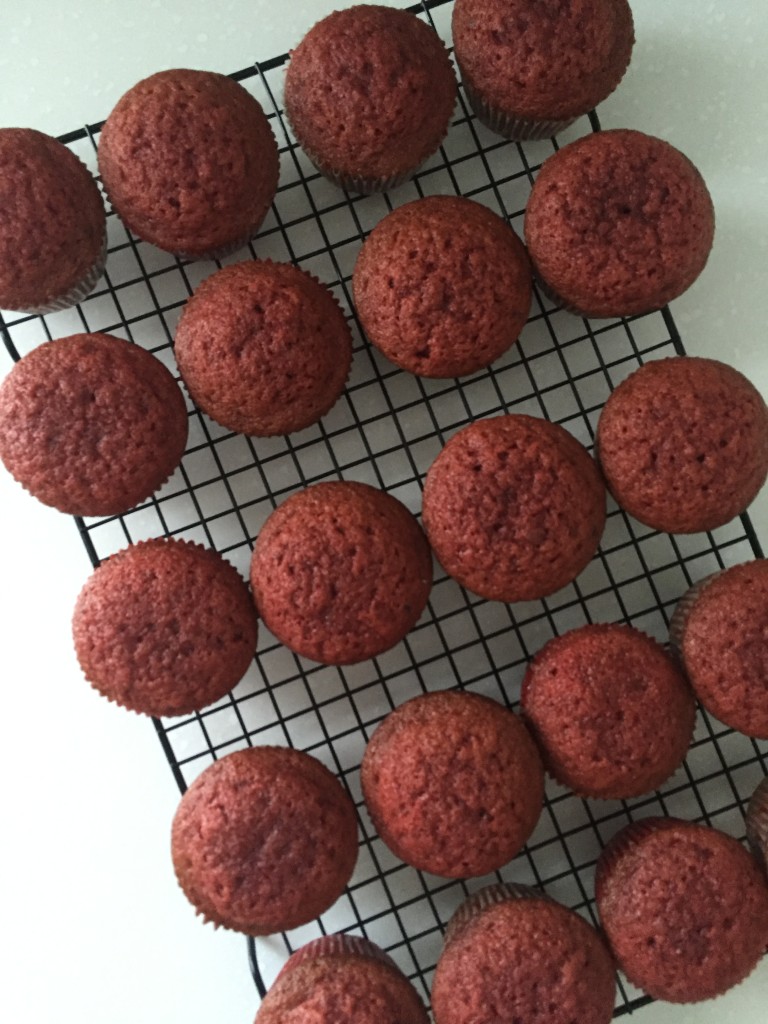
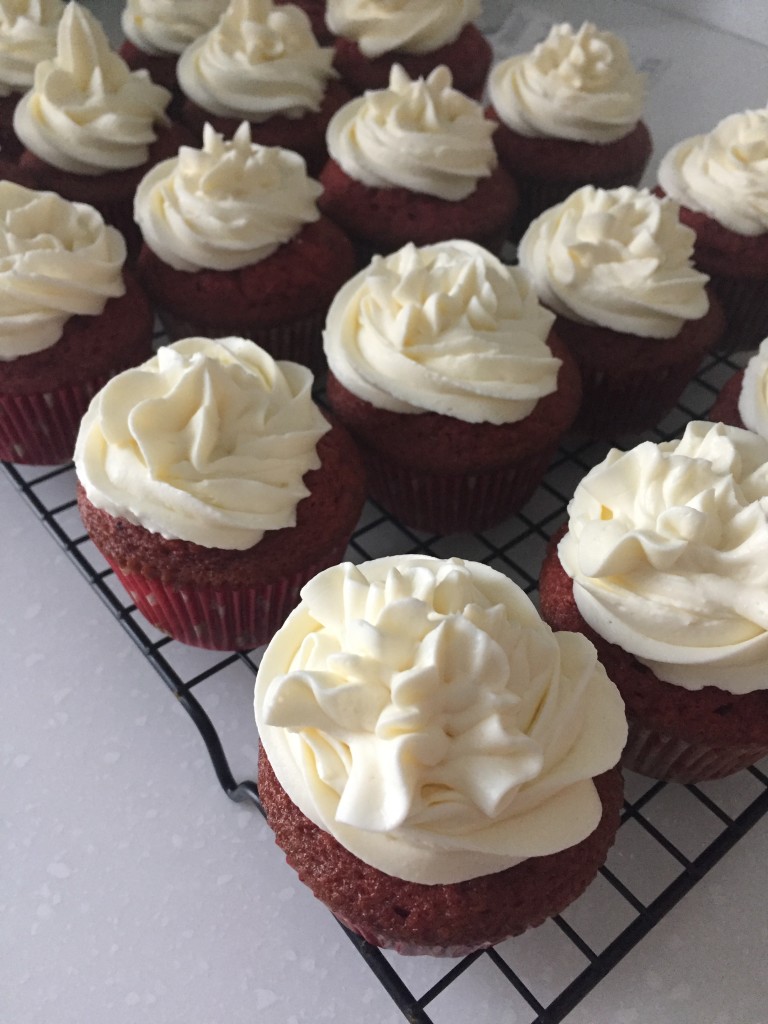
- Be patient, cool the cupcakes completely. I know you’ve just made gorgeously uniform, delicious, very red cupcakes and you’re eager to ice them the second they come out of the oven, but resist. The icing will melt off of your warm cupcakes and you’ll be left with a sticky puddle, rather than a beautiful high pile of cream cheese frosting.
- Michael’s Craft Stores has got the good stuff. If I need a fun-colored sugar, cute sprinkles or pretty cupcake liners, I typically go to Michael’s. They carry a whole bunch of Wilton products, which makes it very hard to walk out of there without purchasing the entire baking aisle.
The Recipe
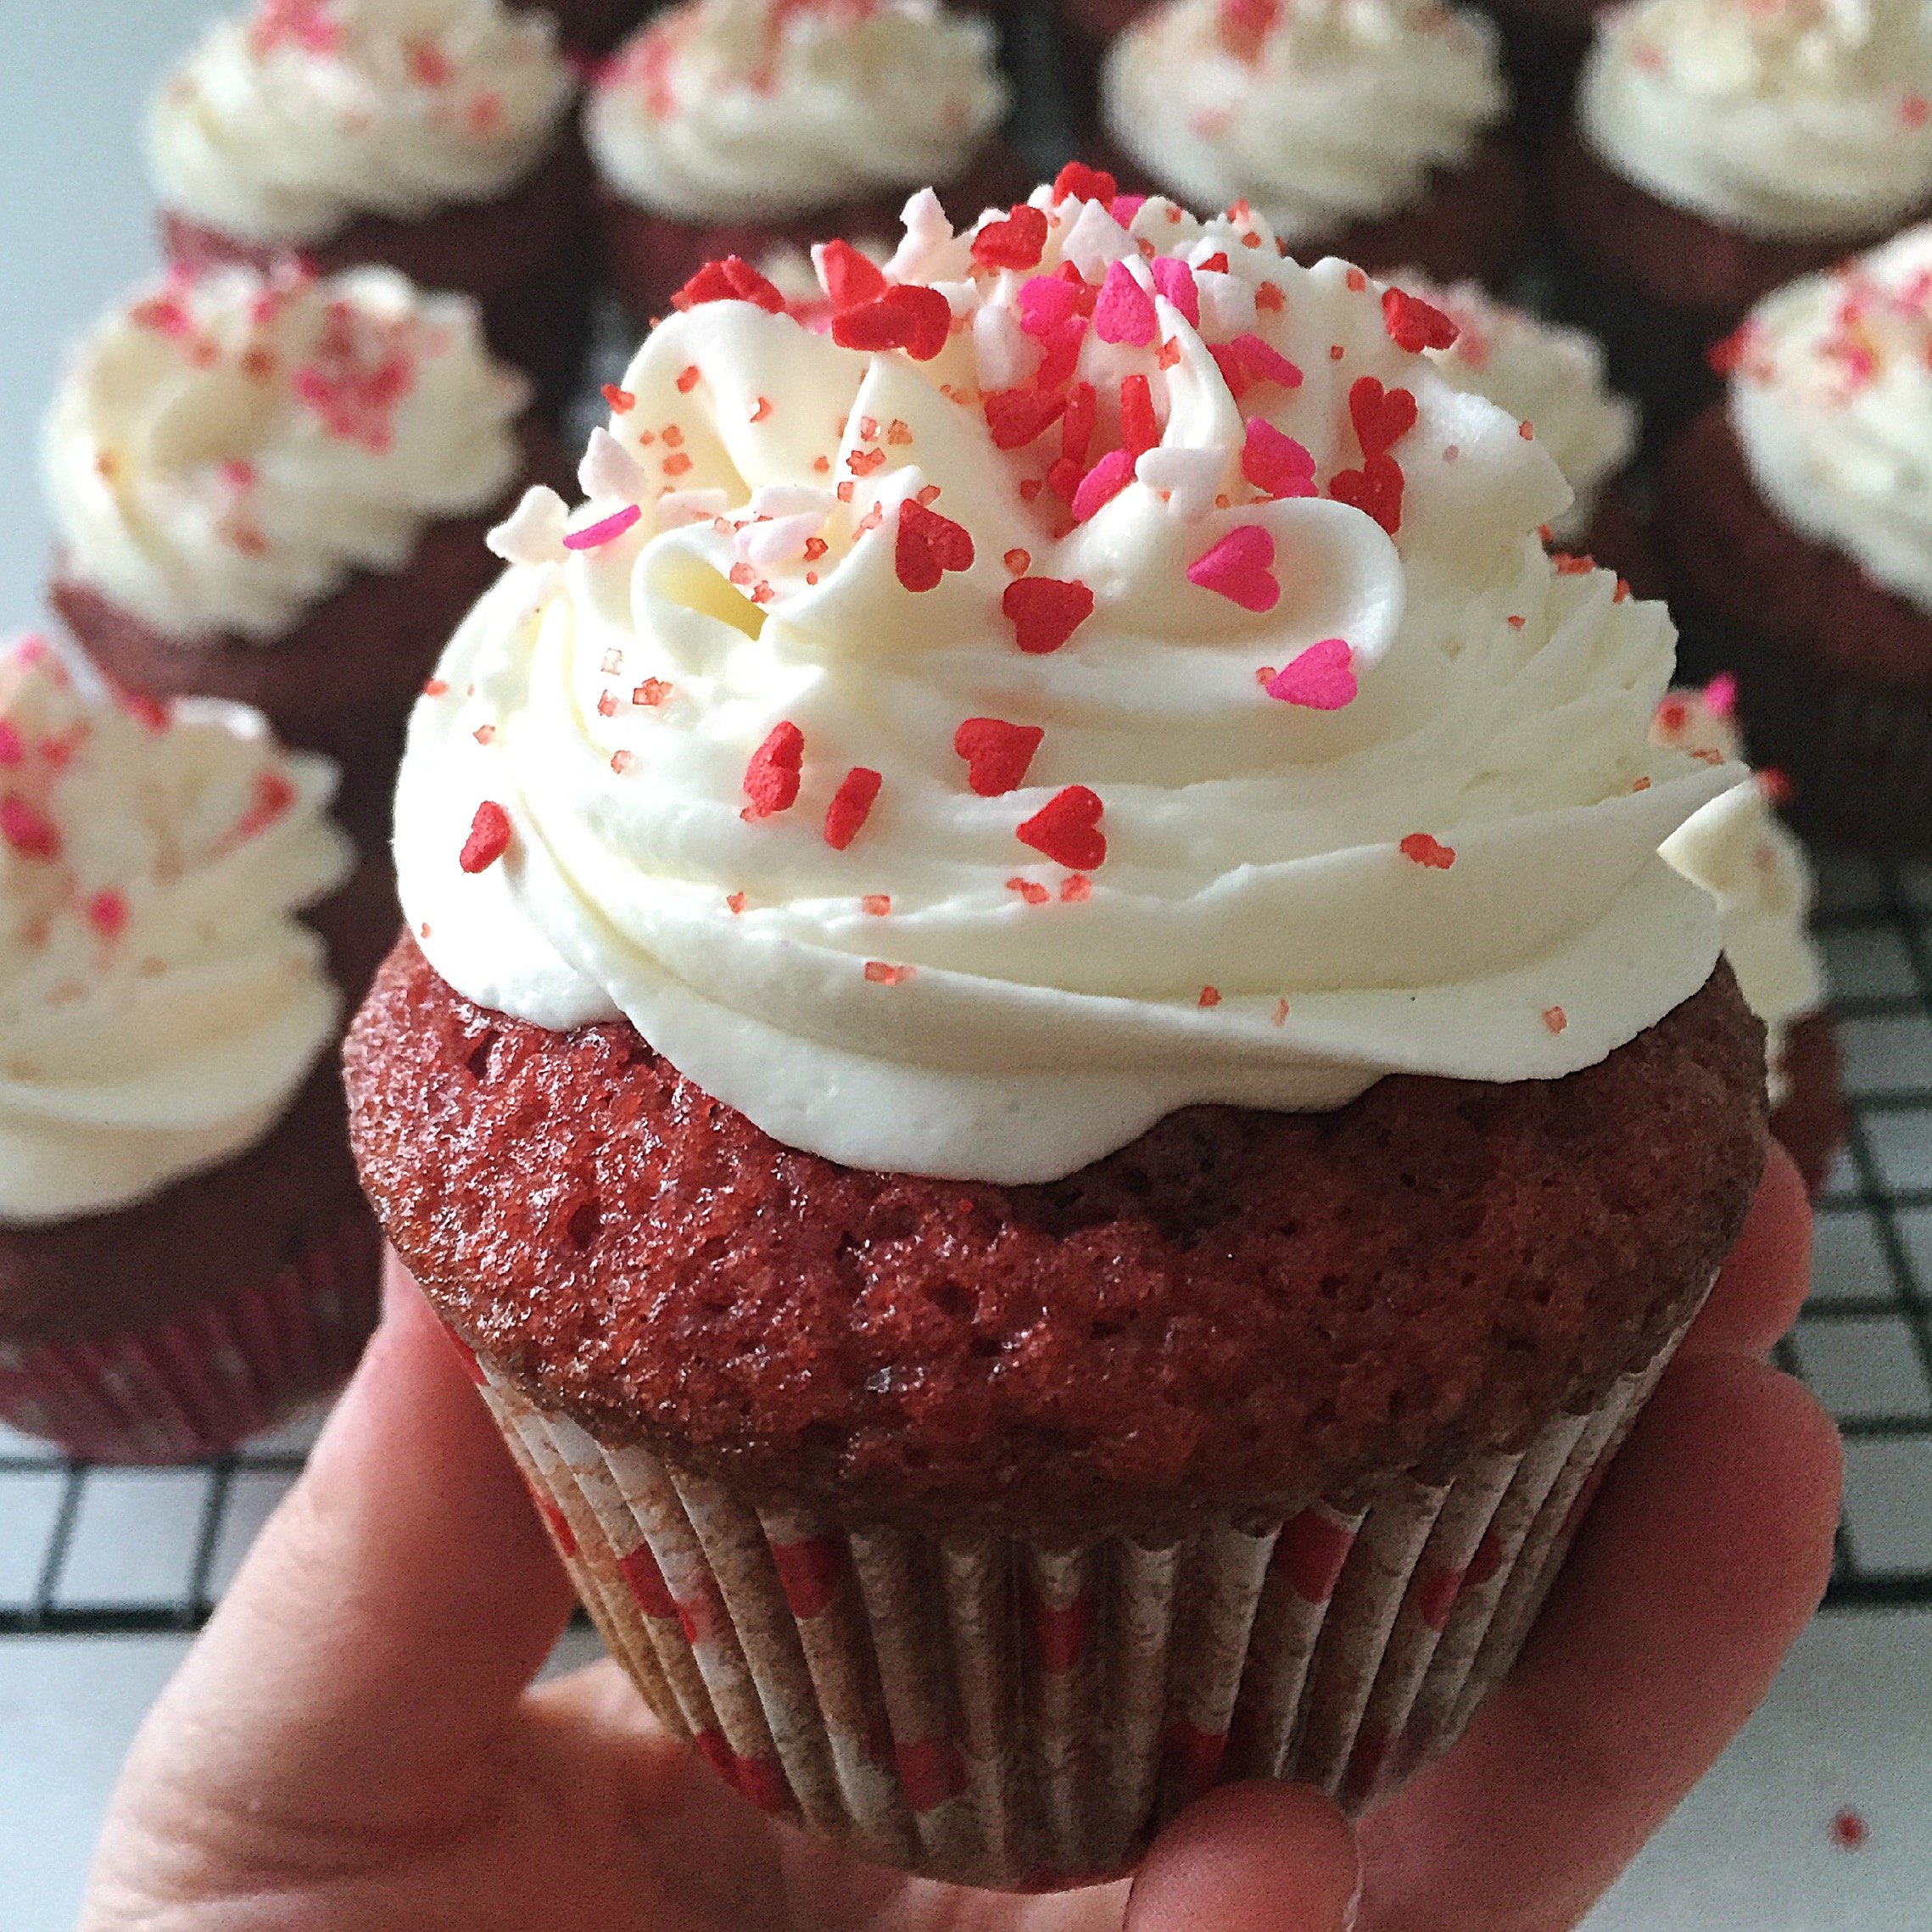
Red Velvet Cupcakes
2016-02-06 15:28:14

Yields 20
Ingredients
- For the Cupcakes -
- 1 1/4 cups vegetable oil
- 1 cup buttermilk
- 2 extra large eggs
- 1 teaspoon white vinegar
- 2 teaspoons vanilla extract
- Red food coloring (see Notes)
- 2 1/2 cups all-purpose flour
- 1 3/4 cups granulated sugar
- 1 teaspoon baking soda
- 3/4 teaspoon salt
- 1 tablespoon unsweetened cocoa powder
For the Frosting
- 2, 8oz packages of cream cheese
- 1 cup powdered sugar
- 1 cup cold heavy whipping cream
- 2 teaspoons vanilla extract (optional)
Instructions
- Preheat the oven to 350 degrees. Line a cupcake pan with liners of your choice.
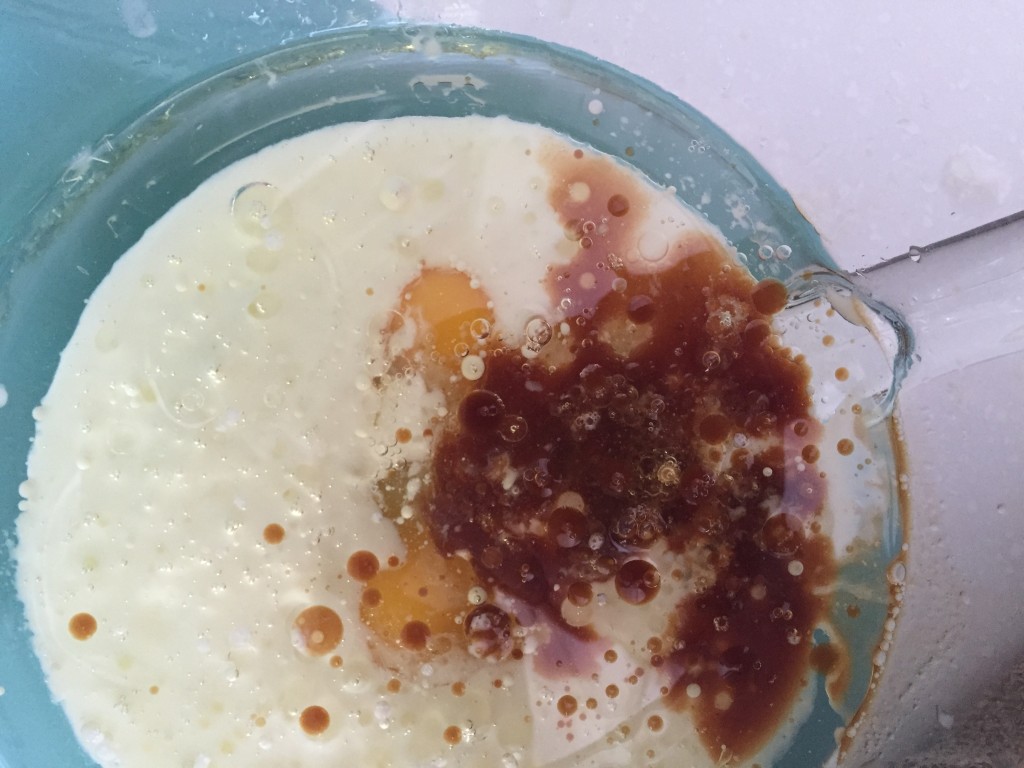
- In a large bowl or stand mixer with the paddle attachment, beat together the oil, buttermilk, eggs, white vinegar, & vanilla extract until mixture is well combined.
- In a separate medium bowl, sift or lightly whisk together the flour, sugar, baking soda, salt and cocoa powder.
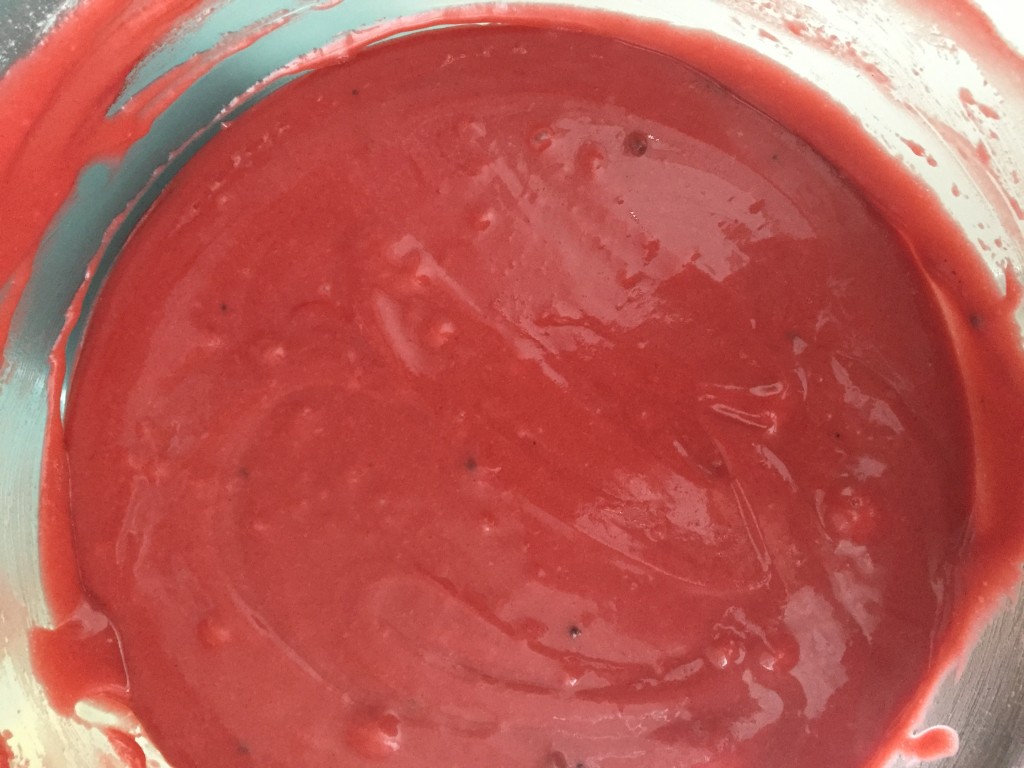
- Add the dry ingredients to the wet 1/2 cup at a time, scraping down the sides to avoid lumps in the batter. With the mixer on low, add your food coloring until you've achieved your desired 'redness' (see Notes).
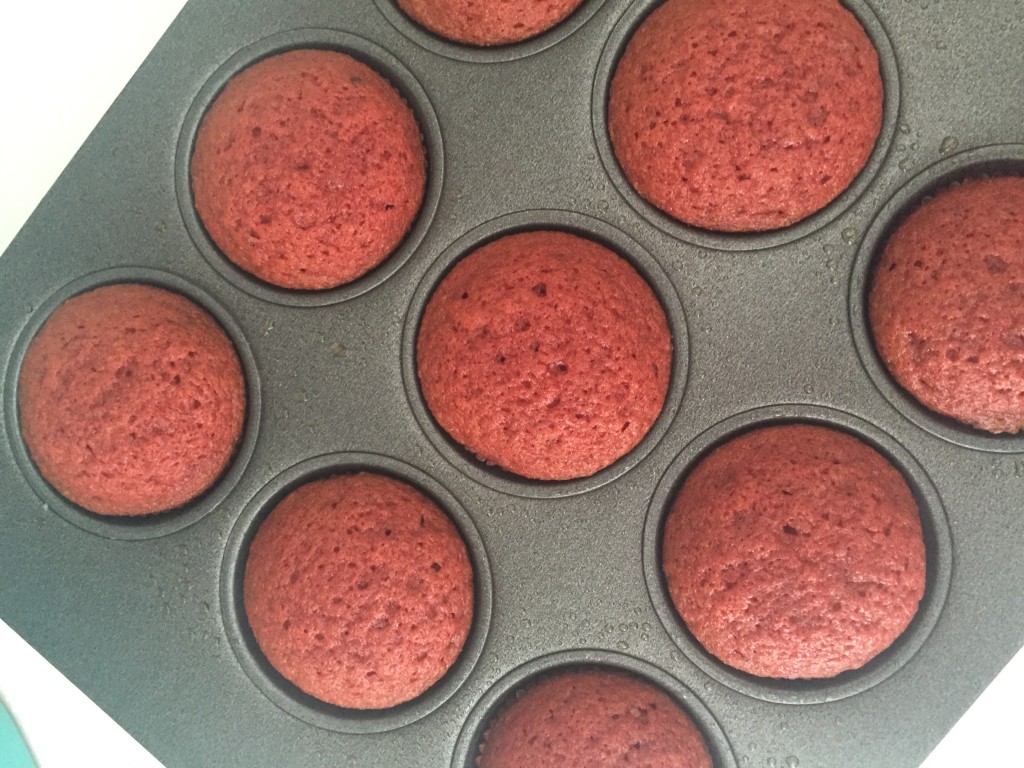
- Fill each cupcake liner about 3/4 full with batter and bake for 18-20 minutes until it passes the toothpick test (see Notes). Transfer the cupcakes to a cooling rack and let cool completely while you make the frosting.
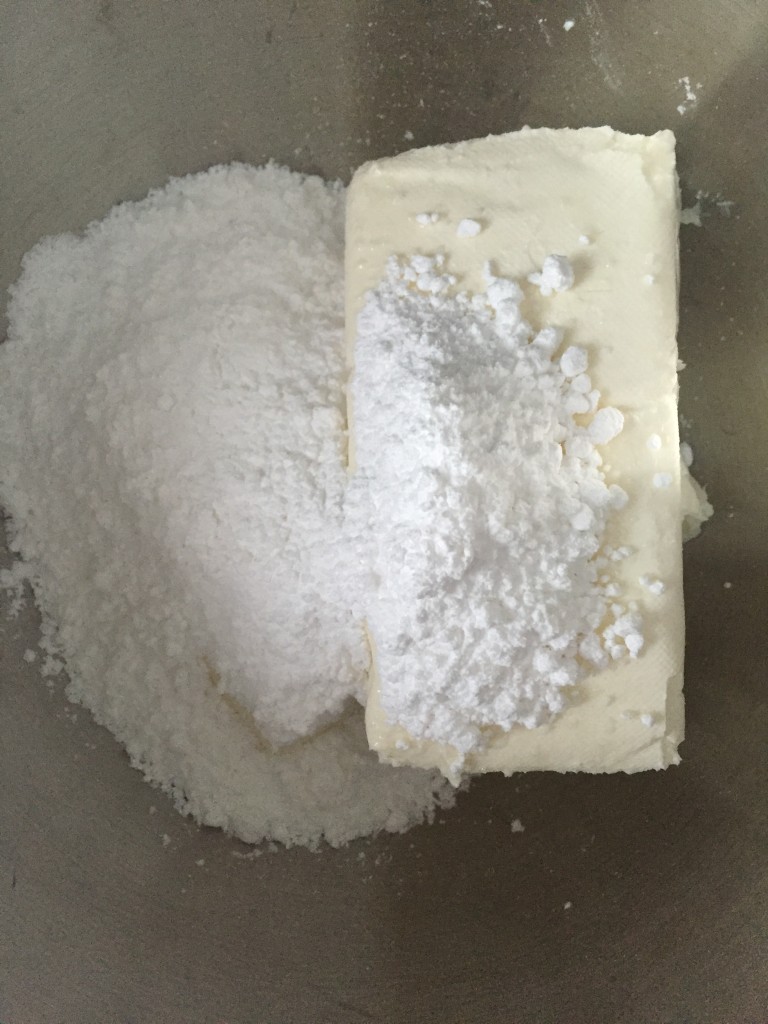
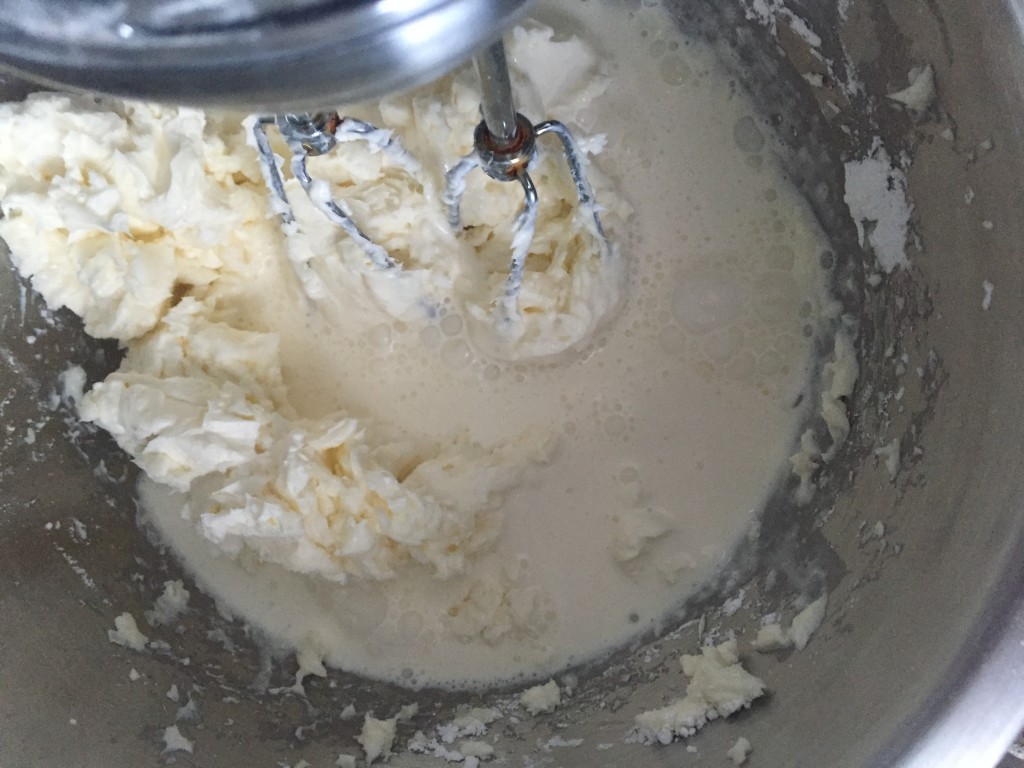
- In a medium bowl using a hand mixer, combine the cream cheese and powdered sugar until just combined. Add the cold heavy whipping cream and vanilla, if using, and mix until the mixture is light and fluffy, about 30 seconds.
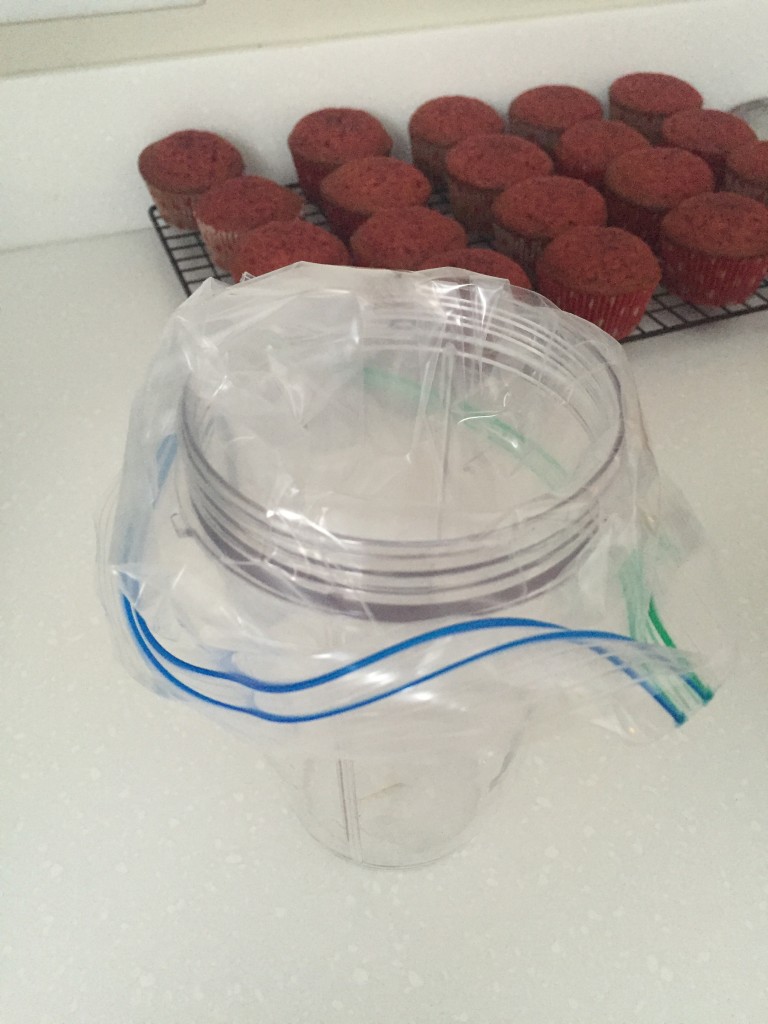
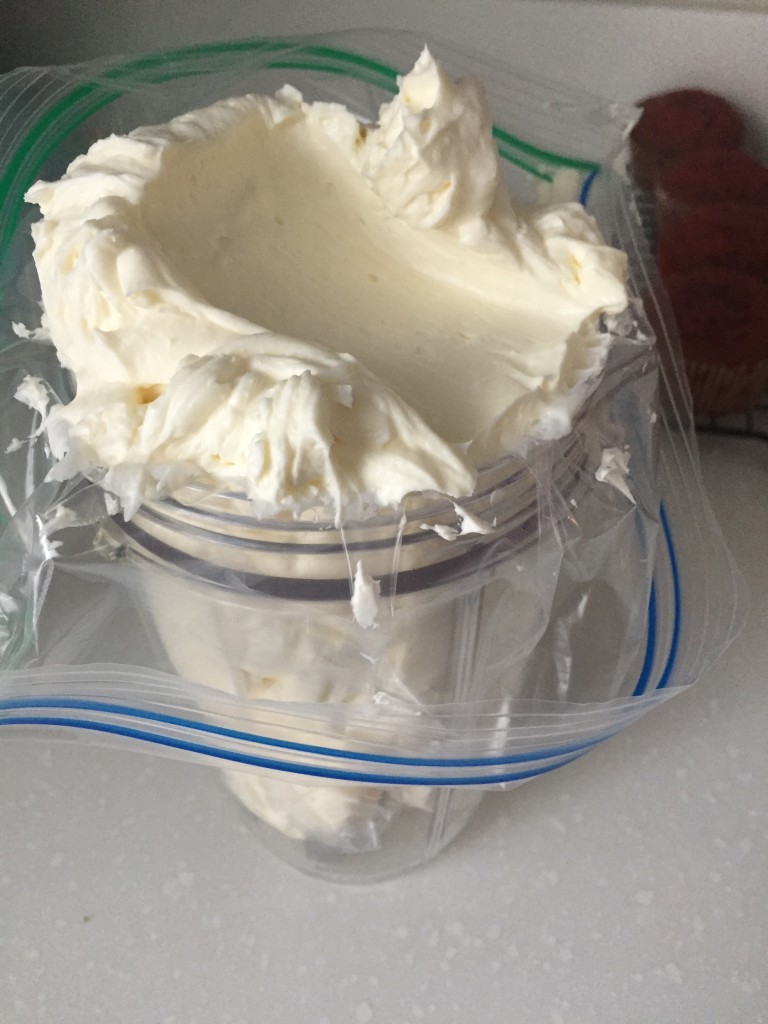
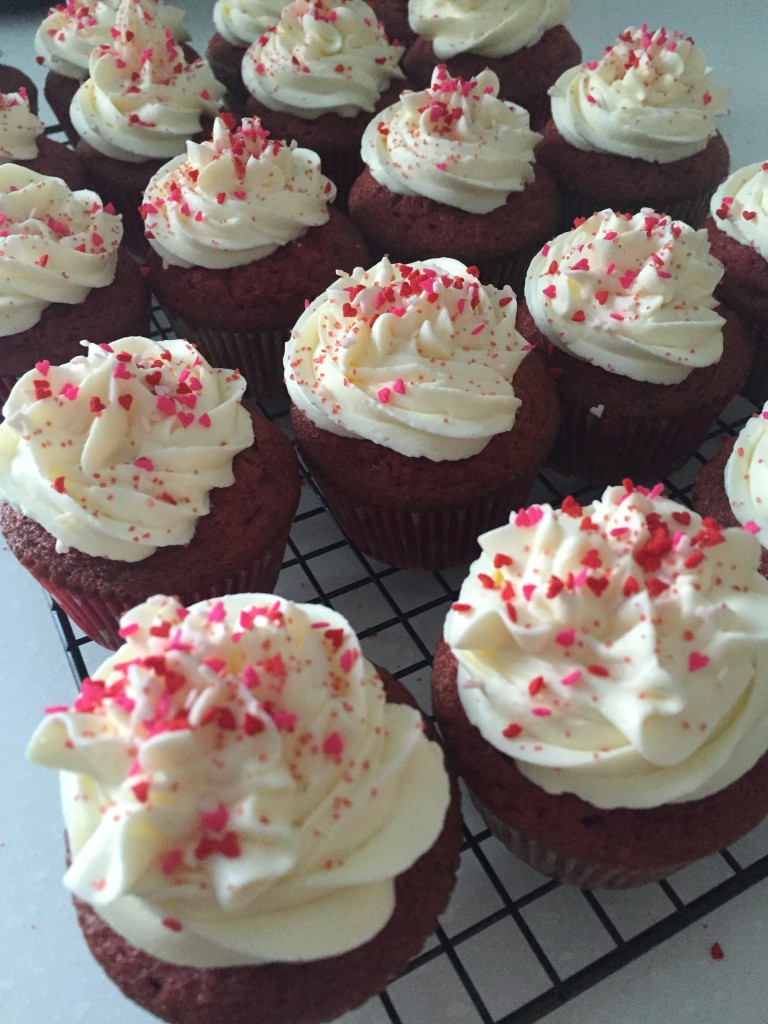
- Cut a hole at the tip of a large Ziploc bag & push a piping tip of your choice through the hole. Fill the bag with about half the frosting, as it's a lot of frosting and it's best done in batches. Twist the top enough so the frosting won't overflow out of the top of the bag while you decorate. Frost each cupcake then decorate with the sprinkles of your choosing. I used mini hearts & red sugar for Valentine's day!
Notes
- For the red coloring - use about 3 tablespoons of red food coloring to start then add more as needed - this may seem like a lot but you may even need more. I've heard gel-based food coloring is much stronger than water-based (what we typically use) but I've yet to find gel coloring anywhere. If you find it, let me know where I can get it!
- The toothpick test - stick a toothpick in the middle of a cupcake. If the toothpick comes out completely clean, it's cooked through. If the cupcake is still moist in the middle, pop it back into the oven for 1-2 minutes.
Adapted from Just a Taste
Adapted from Just a Taste
Lana del Crave https://lanadelcrave.com/
