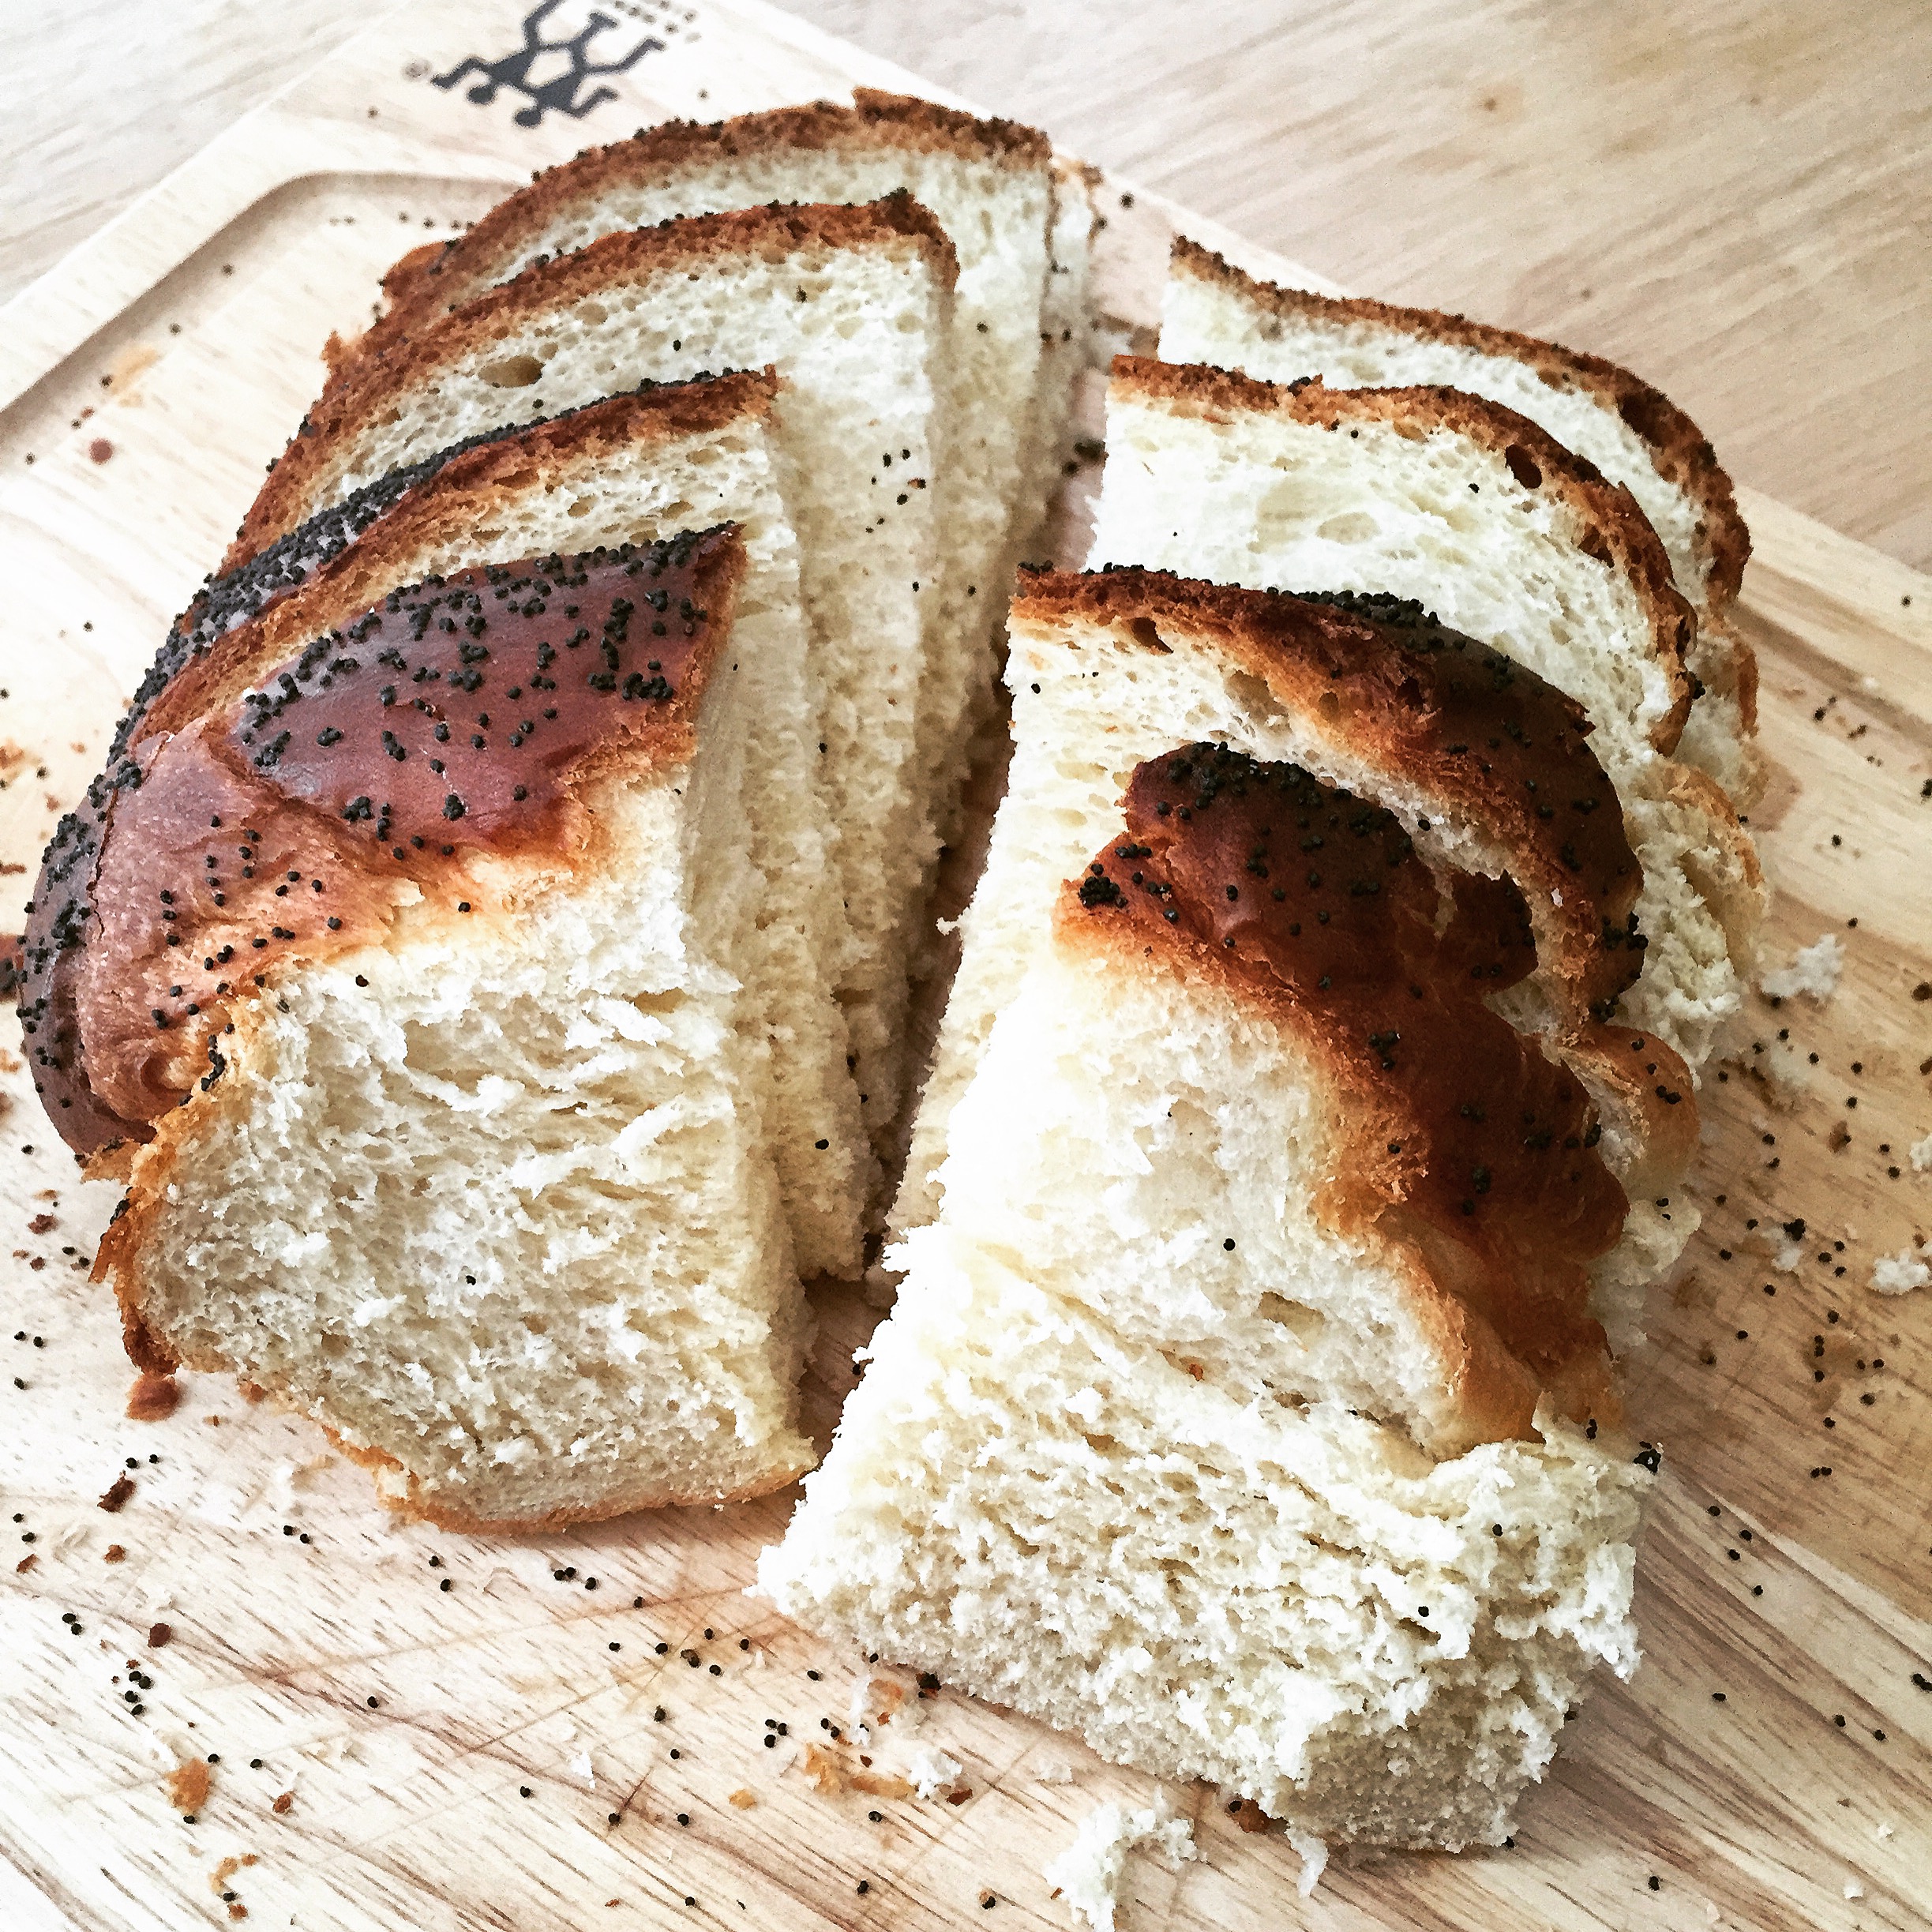
Some recipes are best kept within the family; especially if that recipe is for the best challah bread, ever. For as long as I can remember, my Aunt Sharon has been responsible for baking challah for family events, be it a holiday, wedding, bar or bat mitzvah. This year, she has passed her recipe on to me.
Challah is a soft, sweet bread typically eaten to celebrate the Sabbath (the seventh day of the Hebrew calendar week). Although braided most of the year, it’s traditional to eat challah in round form during high-holy days to represent the ‘circle of life’.
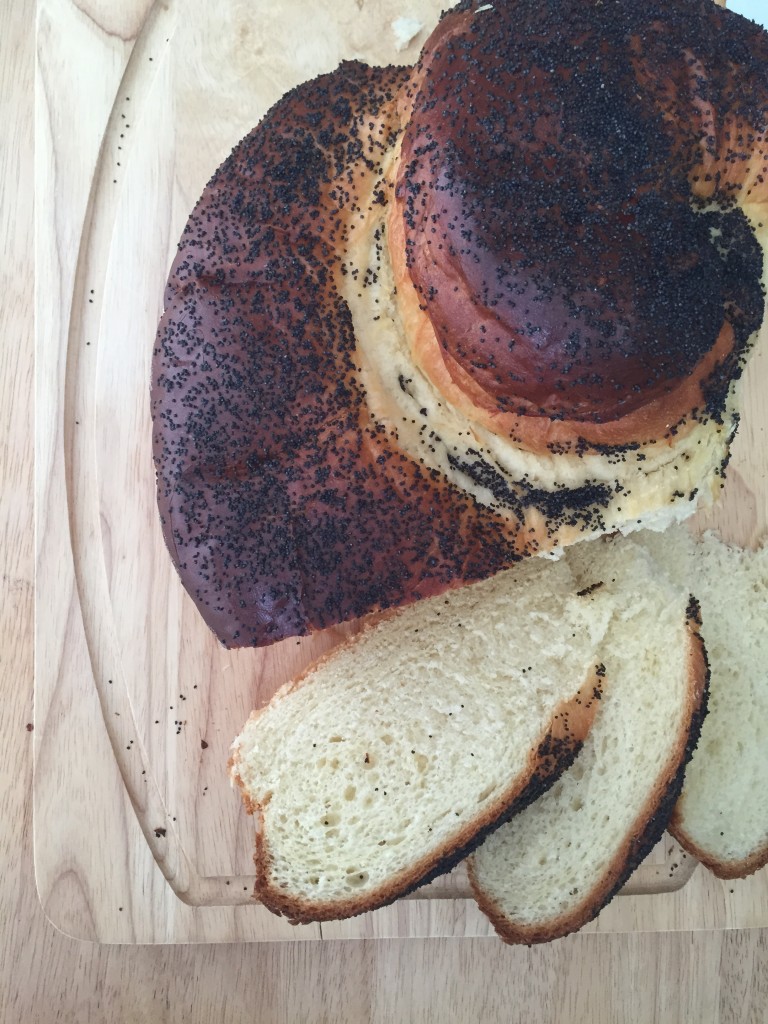
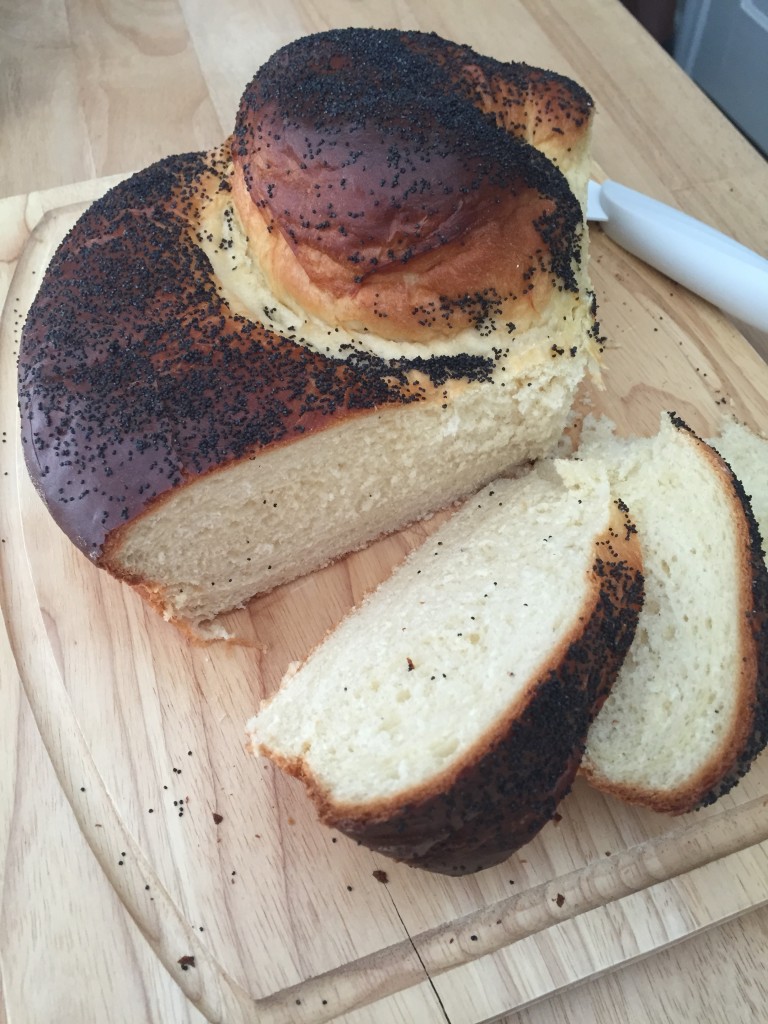
It took me a couple of tries to get my Aunt Sharon’s recipe right, and there is still room for improvement. My goal is to achieve perfectly fluffy on the inside, crunchy on the outside challah every time I bake it.
Although our challah is one of those ‘secret’ family recipes I talked about, I’m still willing to share some tips I’ve learned with the help of my aunt and some good old fashioned research.
- Don’t be scared of yeast. Making bread from scratch can be overwhelming because there’s yeast involved. Here are a few things I’ve learned about this temperamental living organism:
- Yeast ‘activates’, ‘blooms’, or ‘proofs’ best in lukewarm water – between 105 and 110 degrees F. It will not activate in liquid that’s too cool, but will die in liquid that’s too hot. That being said, there’s absolutely no shame in using a thermometer! If you’ve warmed your liquid too much, let it sit until it cools down to the proper temperature.
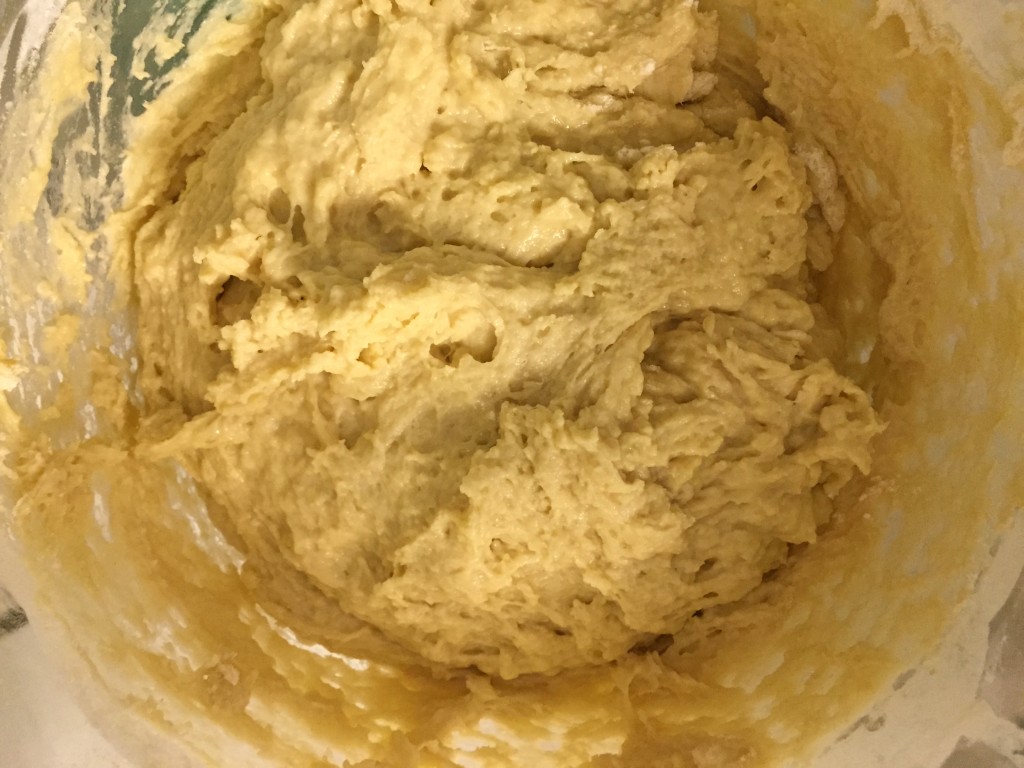
- Fat, eggs, dairy and salt can delay or prevent yeast from blooming. Lean dough made from mostly flour and water will rise faster than rich dough like cinnamon rolls, brioche or challah. My aunt’s original recipe called for activating the yeast in a warmed mixture of milk, butter and honey (yum). After following these steps, I was left with an inactive yeast mixture. During my second attempt, I learned the remedy was less fat and dairy during the blooming process. I whisked the yeast into a warm mixture of only milk and a tablespoon of honey and was pleased to see a beautifully active, bubbly, foamy yeast mixture.
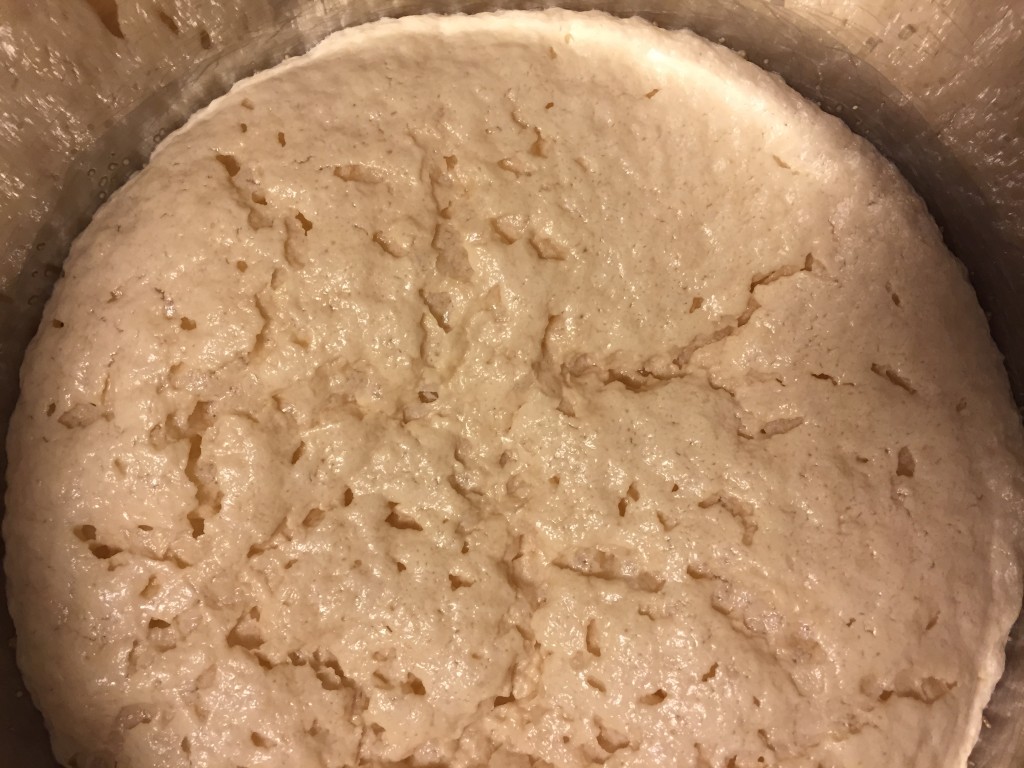
- Work air into the dough for a ‘fluffier’ center. To get that classically ‘airy’ texture in the center of my challah, I did a bit of research and found the answer was obvious – if you want an airier center, add air… duh.
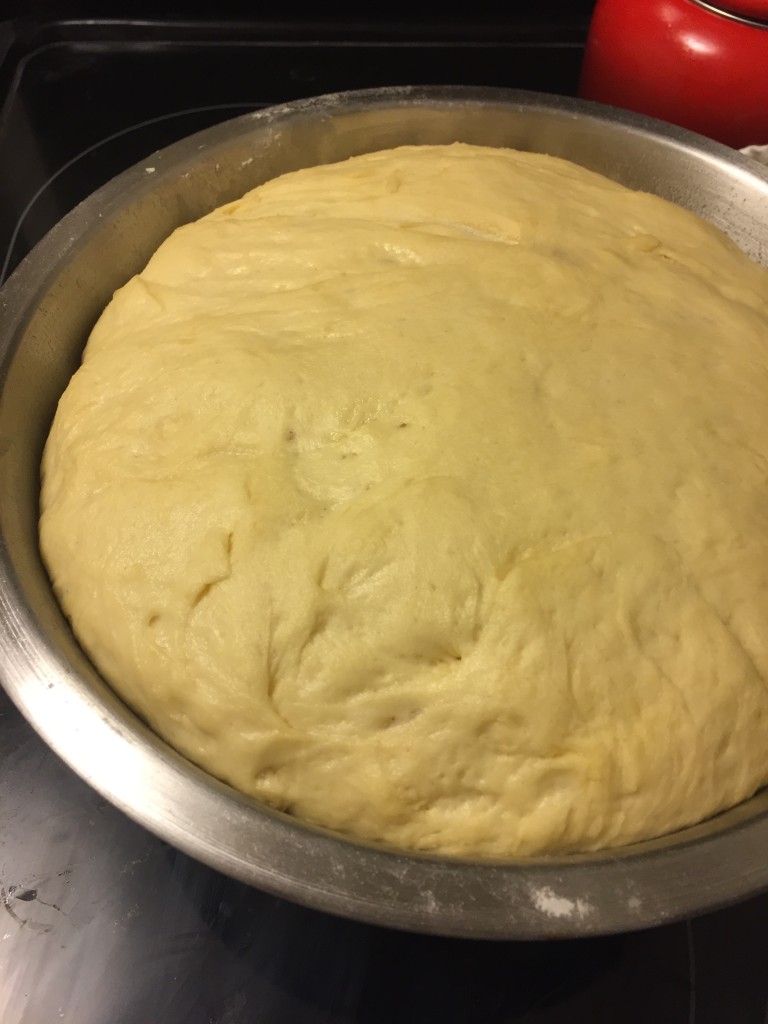
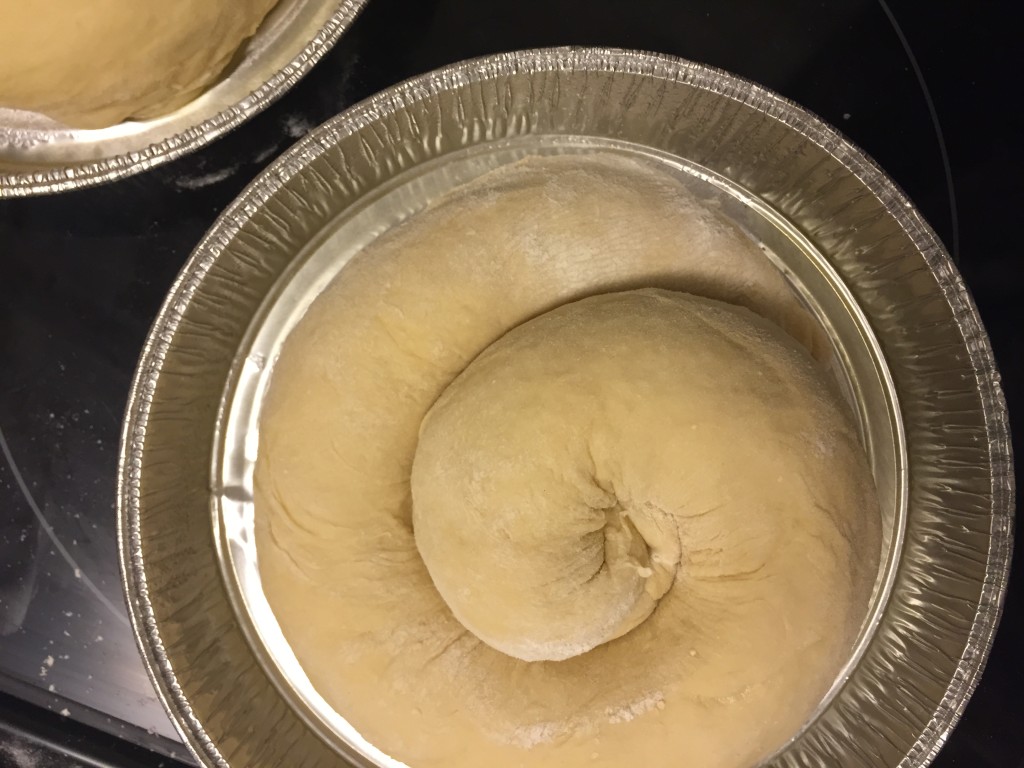
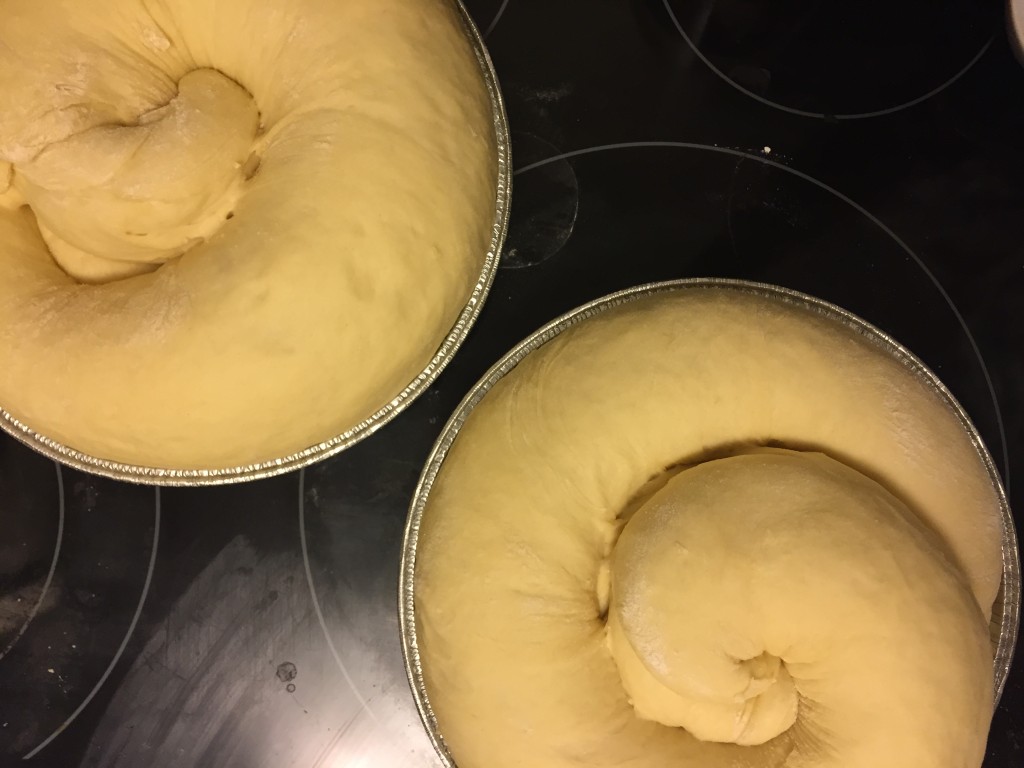
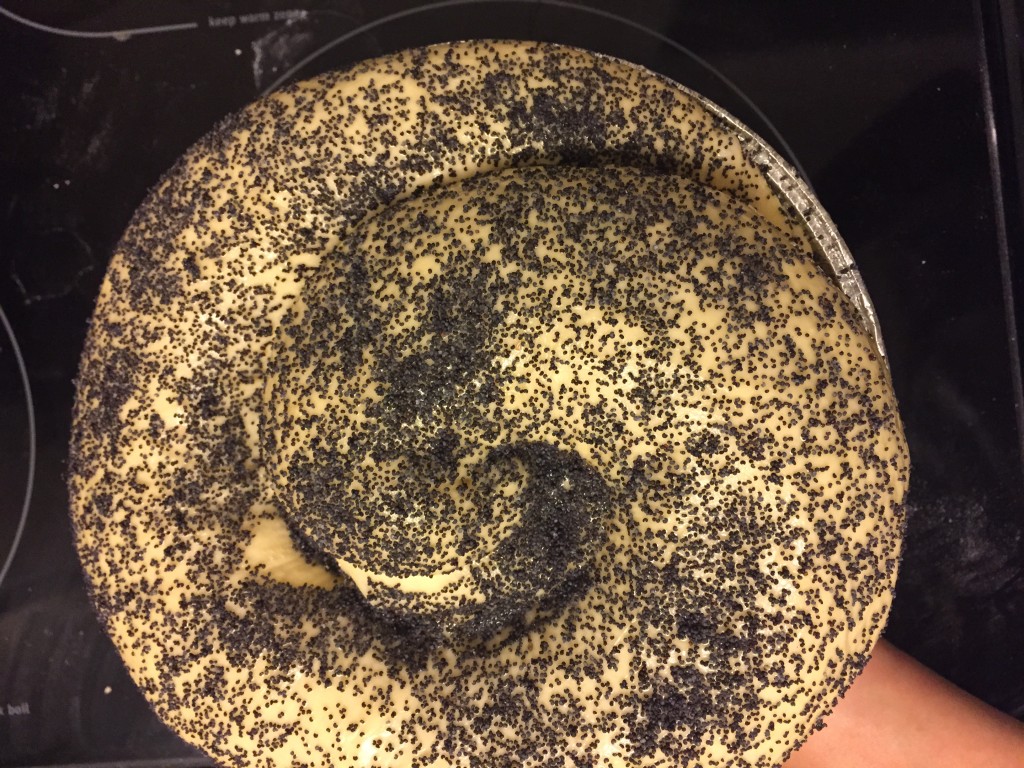
- For the rounded variation: After your dough has had a chance to rise, use a rolling pin to roll the dough into a rectangle. Starting from the long edge furthest from you, roll the dough into a neat line toward you, keeping it relatively tight as you go – a similar technique for jelly rolls or cinnamon rolls. You should be left with a single long ‘roll’. Pinch the edges of the single roll to seal it shut, then swirl it into a spiral shape with the edges tucked underneath. Transfer the spiral to a greased baking sheet to rise a second time. Here’s a perfect example of how to create a round challah by ‘My Name is Yeh’.
- For the long, braided variation: Divide the dough into 3-6 pieces (depending on how many you need to create the braid). Repeat the jelly/cinnamon roll technique for each piece until you’re left with individually rolled strands. Line them up together, braid, then pinch the edges closed. Fold the pinched edges under the loaf and transfer to a greased baking sheet to rise a second time. Here’s a perfect example of the classic 3 strand braid by ‘What Jew Wanna Eat’.
- Don’t preheat the oven. Once your dough has been shaped, rested a second time (30-45 min), and coated in egg wash, it’s ready to bake. Place it in the oven BEFORE turning it on. This will give the dough additional rise time in a warmer place. I bake my challah at 400 degrees for 30-45 minutes until the outside is browned, crispy and sounds hollow when tapped.
- Storing the challah. I made my challah a week before my family and I were ready to enjoy it. To keep pre-cooked challah fresh, wrap it as tightly as possible in tin foil, then place it into a freezer-friendly plastic bag. Freeze until ready to enjoy!
L’shanah tovah!
